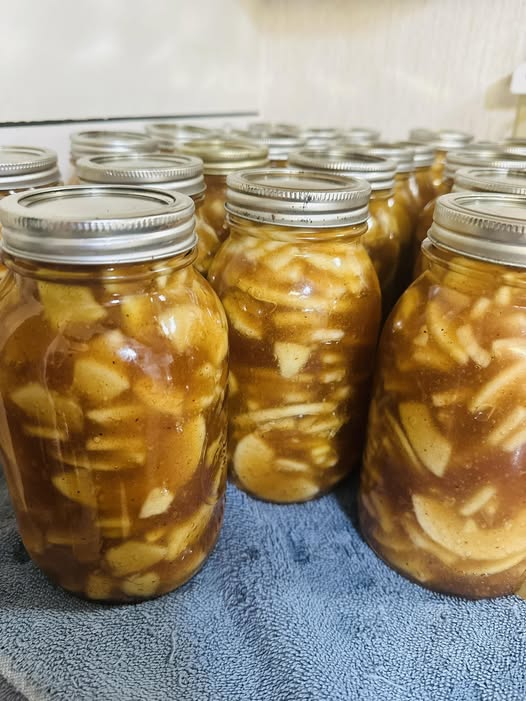
canned apple pie filling
- Prep Time: 35 minutes
- Cook Time: 25 minutes
- Canning Time: 25 minutes
- Total Time: Approximately 1 hour 25 minutes
Difficulty Level: Moderate
Yield: About 7 quart jars
Ingredients
- 12 pounds firm baking apples (about 18–20 medium apples)
- 5½ cups apple juice or water
- 2½ cups granulated sugar
- ¾ cup Clear Jel® (cook-type, approved for canning)
- 2 teaspoons ground cinnamon
- ½ teaspoon ground nutmeg
- ¼ teaspoon ground cloves (optional)
- ¾ cup bottled lemon juice
- 1 teaspoon salt
Recommended Apple Varieties
Choose apples that hold their shape during cooking, such as:
- Granny Smith
- Honeycrisp
- Braeburn
- Jonagold
- Pink Lady
- Fuji
- Golden Delicious
Avoid overly soft apples, as they can become mushy during processing.
Equipment Needed
- Water bath canner with rack
- 7 sterilized quart canning jars
- New canning lids and bands
- Large stockpot
- Large mixing bowl
- Jar funnel
- Bubble remover or non-metallic spatula
- Jar lifter
- Ladle
- Sharp knife and peeler
Instructions
Step 1: Prepare the Jars
Wash jars, lids, and bands in hot, soapy water. Rinse well.
Keep the jars hot until ready to fill. Prepare the water bath canner according to the manufacturer’s instructions and begin heating the water.
Step 2: Prepare the Apples
Peel, core, and slice the apples into slices about ½ inch thick.
Place the slices in a large bowl of water mixed with a little bottled lemon juice to help prevent browning while you prepare the remaining apples.
Step 3: Blanch the Apples
Bring a large pot of water to a boil.
Working in batches, blanch the apple slices for 1 minute.
Remove them with a slotted spoon and keep warm.
Blanching helps preserve texture and removes excess air from the fruit.
Step 4: Make the Syrup
In a large stockpot, whisk together:
- Sugar
- Clear Jel®
- Cinnamon
- Nutmeg
- Cloves (if using)
- Salt
Gradually whisk in the apple juice or water until smooth.
Place over medium heat, stirring constantly until the mixture thickens and begins to bubble.
Once thickened, stir in the bottled lemon juice and simmer for 1 additional minute.
Step 5: Add the Apples
Fold the warm apple slices into the hot syrup.
Cook gently for 5 minutes, stirring occasionally so every slice is coated without breaking apart.
Step 6: Fill the Jars
Using a jar funnel, ladle the hot apple pie filling into the prepared hot jars.
Leave 1 inch of headspace at the top of each jar.
Remove trapped air bubbles with a non-metallic spatula, then adjust the headspace if necessary.
Wipe the jar rims with a clean, damp cloth, apply the lids, and screw on the bands until fingertip tight.
Step 7: Process the Jars
Place the filled jars into the prepared boiling water bath canner.
Ensure the jars are covered by at least 1 inch of water.
Process at a rolling boil for:
- Quart jars: 25 minutes
- Pint jars: 20 minutes
If you live at a higher altitude, adjust the processing time according to your local extension service recommendations.
Step 8: Cool and Check the Seals
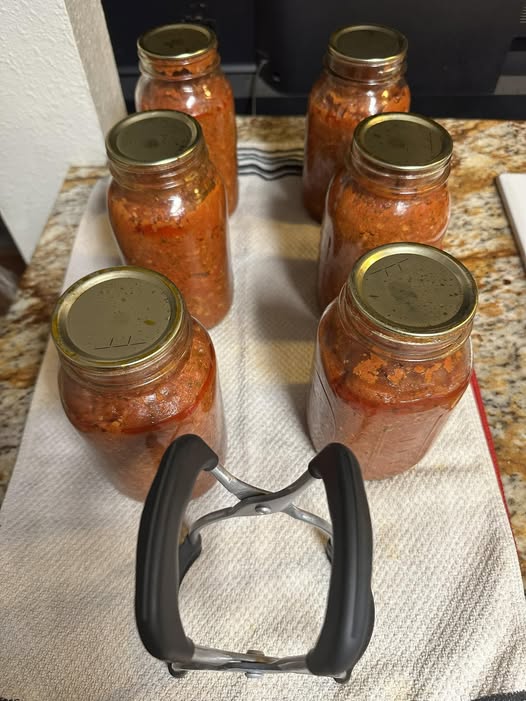
Carefully remove the jars and place them on a towel-lined counter.
Allow them to cool undisturbed for 12–24 hours.
After cooling, press the center of each lid. A properly sealed lid will not flex up and down.
Store any unsealed jars in the refrigerator and use within one week.
Canning Time and Heat Intensity
- Blanching Apples: High heat for 1 minute
- Preparing Syrup: Medium heat until thickened
- Cooking Filling: Medium-low heat for 5 minutes
- Water Bath Processing: High heat at a full rolling boil for 25 minutes (quarts)
Maintaining a steady boil throughout the processing time is essential for safe preservation.
Tips for Success
- Use firm, fresh apples without bruises.
- Always use bottled lemon juice for consistent acidity.
- Use only cook-type Clear Jel® as the thickener for shelf-stable canning.
- Keep jars hot before filling to reduce the risk of breakage.
- Avoid overcooking the apples before canning.
- Remove air bubbles to help ensure a strong vacuum seal.
- Label jars with the preparation date before storing.
Delicious Ways to Use Canned Apple Pie Filling
This versatile filling is perfect for:
- Classic apple pie
- Apple crisp
- Apple cobbler
- Turnovers
- Danish pastries
- Cheesecake topping
- Ice cream topping
- Yogurt parfaits
- Pancake or waffle topping
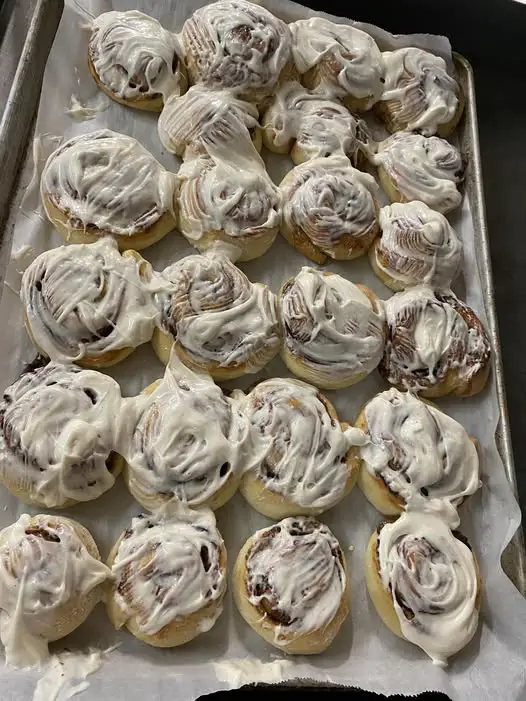
- Cinnamon rolls
Storage Instructions
Store sealed jars in a cool, dark, dry place.
Properly processed jars maintain their best quality for up to 12 months.
After opening, refrigerate and use within 7 days.
Common Mistakes to Avoid
- Using cornstarch or flour instead of Clear Jel®.
- Skipping the blanching step.
- Overfilling jars without leaving enough headspace.
- Failing to remove air bubbles.
- Using damaged jars or chipped rims.
- Not maintaining a full rolling boil during processing.
- Ignoring altitude adjustments if required.
Frequently Asked Questions
Can I use brown sugar?
For best results in a shelf-stable canned product, stick to granulated sugar in tested recipes. Brown sugar may alter the texture and color.
Why can’t I use cornstarch?
Cornstarch is not recommended for home-canned pie fillings because it can interfere with safe heat penetration and break down during storage. Clear Jel® is formulated specifically for canning.
Can I reduce the sugar?
Sugar contributes to flavor and texture. Significant reductions may affect the finished consistency. Use a tested low-sugar canning recipe if you want to reduce sweetness.
Can I freeze the filling instead?
Yes. If you prefer not to can it, cool the filling completely, transfer it to freezer-safe containers, and freeze for up to six months.
How many pies does this recipe make?
A quart jar typically contains enough filling for one standard 9-inch apple pie.
Nutrition Information (Approximate Per 1 Cup Serving)
- Calories: 210
- Protein: 1 g
- Carbohydrates: 54 g
- Fat: 0 g
- Saturated Fat: 0 g
- Cholesterol: 0 mg
- Sodium: 95 mg
- Fiber: 3 g
- Sugar: 43 g
- Potassium: 180 mg
- Vitamin C: 6% DV
- Calcium: 2% DV
- Iron: 2% DV