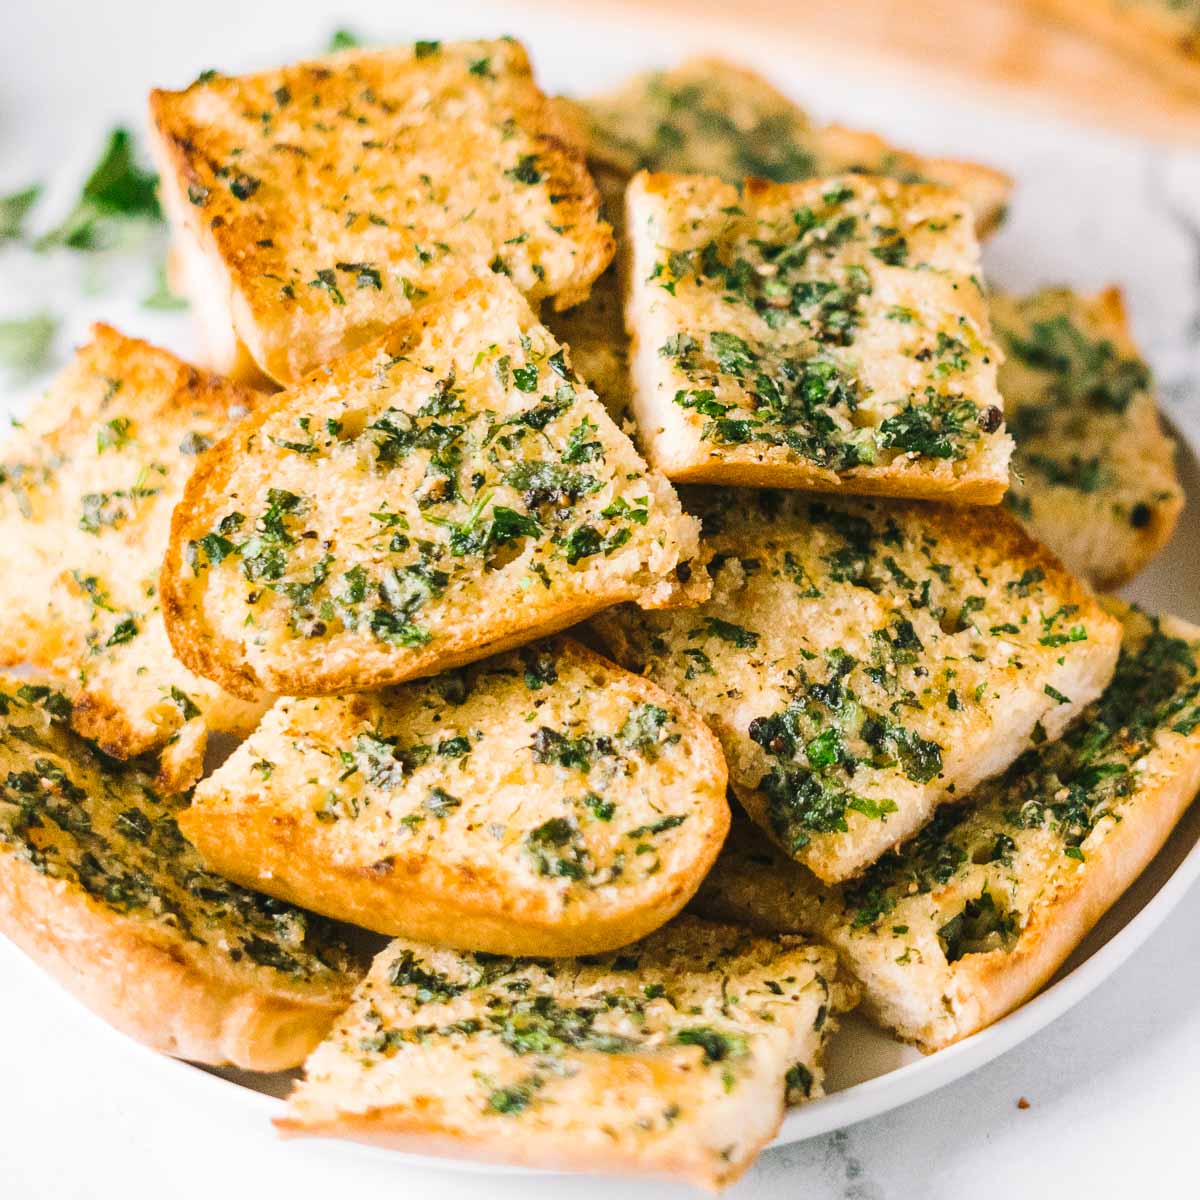
Gluten Free Garlic Bread
Garlic bread is a beloved side dish that perfectly complements pasta, salads, and soups. This gluten-free version is just as delicious and satisfying as the traditional recipe, featuring a buttery, garlicky spread that’s slathered on gluten-free bread. Whether you’re hosting a dinner party or simply craving a comforting side, this gluten-free garlic bread is sure to please everyone at the table.
Preparation Time
- Total Time: 30 minutes
- Preparation Time: 10 minutes
- Cooking Time: 20 minutes
Intensity Level
- Difficulty: Easy
- Skill Level: Beginner
Ingredients
For the Garlic Butter Spread:
- 1/2 cup unsalted butter (1 stick), softened
- 4-5 cloves garlic, minced (adjust to taste)
- 1 tablespoon fresh parsley, chopped (or 1 teaspoon dried parsley)
- 1/2 teaspoon salt
- 1/4 teaspoon black pepper
- 1/4 teaspoon red pepper flakes (optional, for a little heat)
For the Bread:
- 1 loaf of gluten-free bread (store-bought or homemade)
- Optional: Grated Parmesan cheese for topping
Equipment Needed
- Mixing bowl
- Whisk or fork
- Measuring cups and spoons
- Baking sheet
- Parchment paper (optional)
- Knife for spreading
Instructions
Step 1: Preheat the Oven
- Preheat the Oven: Preheat your oven to 375°F (190°C). This temperature is perfect for toasting the bread and melting the garlic butter.
Step 2: Make the Garlic Butter Spread
- Combine Ingredients: In a mixing bowl, combine the softened butter, minced garlic, chopped parsley, salt, black pepper, and red pepper flakes (if using). Use a whisk or fork to mix until all ingredients are well incorporated and the mixture is smooth.
Step 3: Prepare the Bread
-
Slice the Bread: If using a loaf of gluten-free bread, slice it in half lengthwise or into individual slices, depending on your preference. If you prefer smaller pieces, cut the bread into thick slices.
-
Spread the Garlic Butter: Generously spread the garlic butter mixture on the cut sides of the bread. Ensure that the garlic butter is distributed evenly for maximum flavor.
Step 4: Bake the Garlic Bread
-
Prepare the Baking Sheet: Line a baking sheet with parchment paper if desired for easy cleanup. Place the prepared bread on the baking sheet, cut side up.
-
Add Cheese (Optional): If you like, sprinkle grated Parmesan cheese on top of the garlic butter spread for an extra layer of flavor.
-
Bake: Place the baking sheet in the preheated oven and bake for about 15-20 minutes, or until the edges are golden brown and the butter is bubbly. Keep an eye on the bread to prevent burning.
Step 5: Serve
-
Cool Slightly: Once done, remove the garlic bread from the oven and let it cool for a minute or two. This will make it easier to handle.
-
Slice and Serve: If you baked the bread as a whole loaf, slice it into individual pieces. Serve warm as a side dish with your favorite pasta, salad, or soup.
Tips for Perfect Gluten-Free Garlic Bread
- Choose the Right Bread: Look for a gluten-free bread that has a good texture and flavor. You can use store-bought options or make your own gluten-free bread if you prefer.
- Adjust Garlic to Taste: Feel free to adjust the amount of garlic according to your taste preferences. If you love garlic, add more!
- Add Herbs: Experiment with other herbs like oregano or basil to customize the flavor of your garlic bread.
- Storage: Leftover garlic bread can be stored in an airtight container in the refrigerator for up to 2 days. Reheat in the oven for the best texture.
Nutritional Information (per serving, based on 8 servings)
- Calories: 180
- Protein: 2g
- Carbohydrates: 20g
- Dietary Fiber: 1g
- Sugars: 1g
- Fat: 10g
- Saturated Fat: 6g
- Cholesterol: 30mg
- Sodium: 300mg
Nutritional Breakdown
- Calories: Each serving of garlic bread is approximately 180 calories, making it a flavorful addition to your meal without being overly indulgent.
- Protein: While not a significant source of protein, it can complement a protein-rich main dish.
- Carbohydrates: The carbohydrates come primarily from the gluten-free bread, providing energy.
- Fats: The butter contributes to the richness and flavor, while the garlic offers health benefits.
- Vitamins and Minerals: Garlic is known for its potential health benefits, including anti-inflammatory properties.
Conclusion
Gluten-free garlic bread is a simple yet delicious side dish that can elevate any meal. With its buttery, garlicky goodness, it’s sure to be a hit with everyone, regardless of dietary restrictions. This recipe is easy to follow and perfect for beginners, making it an excellent addition to your cooking repertoire. So gather your ingredients, and enjoy the warm, comforting flavors of homemade gluten-free garlic bread