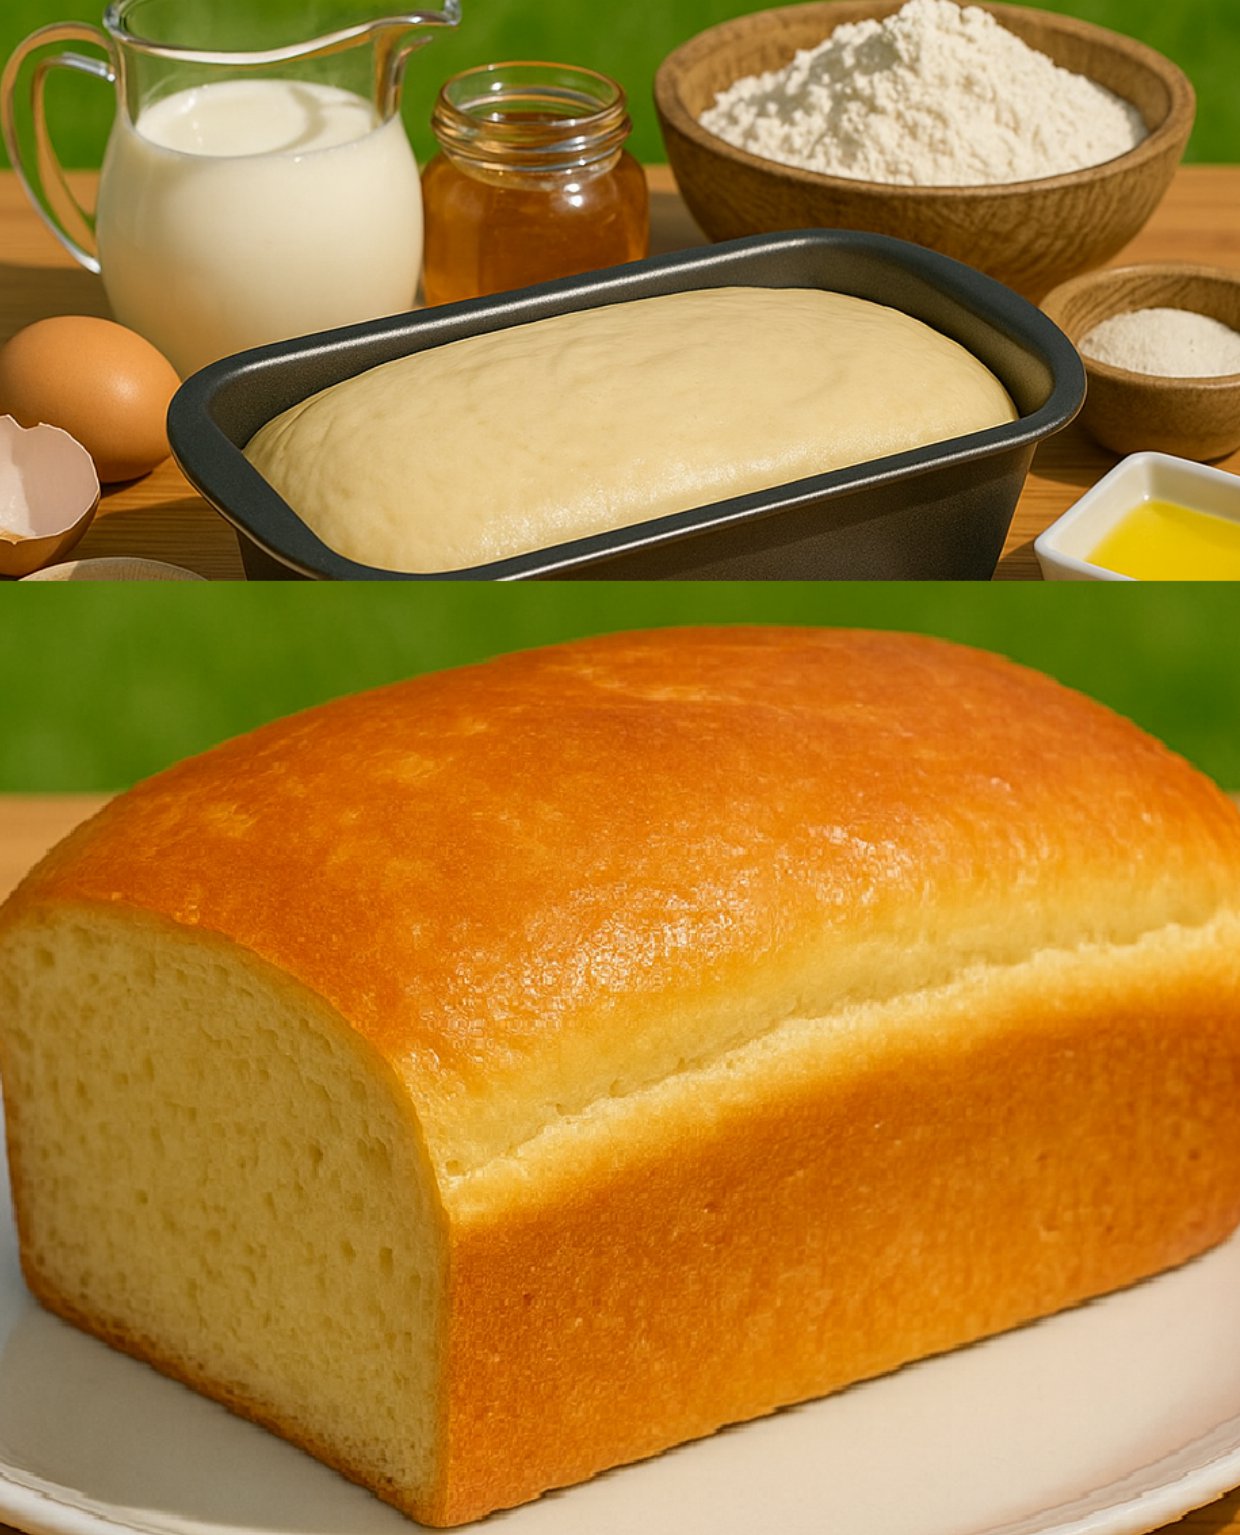
Homemade Honey Buttermilk Bread
Yield: 1 standard loaf (9×5-inch)
Prep Time: 25 minutes (plus 10-15 minutes of active hands-on time)
Rise Time: 1 hour 30 minutes – 2 hours
Bake Time: 30-40 minutes
Total Time: Approximately 2 hours 45 minutes to 3 hours 30 minutes
Skill Level: Beginner to Intermediate
Recipe Intensity: Low to Medium. This recipe requires patience during the rising times but the hands-on work is simple and straightforward.
Ingredients
-
1 cup buttermilk, warmed to about 110°F (43°C)
-
2 ¼ teaspoons (one ¼ oz. packet) active dry yeast
-
¼ cup warm water (110°F / 43°C)
-
2 tablespoons honey
-
3 tablespoons unsalted butter, melted (plus extra for greasing)
-
1 large egg, at room temperature
-
1 ½ teaspoons fine sea salt
-
3 ½ – 4 cups all-purpose flour, divided (plus extra for dusting)
Equipment
-
Stand mixer with a dough hook (optional but helpful)
-
Large mixing bowl
-
Kitchen thermometer
-
9×5 inch loaf pan
-
Plastic wrap or a clean kitchen towel
-
Wire cooling rack
Instructions
Step 1: Activate the Yeast
In the bowl of your stand mixer or a large mixing bowl, combine the ¼ cup of warm water and the honey. Sprinkle the yeast over the top and give it a gentle stir. Let it sit for 5-10 minutes until it becomes foamy and fragrant. This “proofing” step is crucial—it confirms your yeast is alive and active, ensuring your bread will rise. If the mixture doesn’t foam, your yeast may be old, and it’s best to start over with a new packet.
Step 2: Create the Dough
Once the yeast is frothy, add the warmed buttermilk, melted butter, egg, and salt. Whisk these wet ingredients together until well combined.
If using a stand mixer: Attach the dough hook. With the mixer on low speed, begin adding the flour, one cup at a time, until 3 ½ cups have been incorporated.
If mixing by hand: Use a wooden spoon to stir in the flour, one cup at a time, until a shaggy dough begins to form.
Step 3: Knead to Perfection
For Stand Mixer Kneading: Increase the mixer speed to medium and knead for 5-7 minutes. The dough should pull away from the sides of the bowl and form a smooth, slightly tacky ball. If the dough is still sticking to the sides, add the remaining ¼ cup of flour, one tablespoon at a time, until it clears the sides.
For Hand Kneading: Turn the dough out onto a lightly floured surface. Knead for 8-10 minutes, using a push, turn, and fold motion. Add small amounts of the remaining flour only as needed to prevent sticking. You are done kneading when the dough is smooth, elastic, and springs back slowly when you poke it with your finger.
Step 4: The First Rise (Bulk Fermentation)
Lightly grease the large mixing bowl with butter or oil. Place the smooth ball of dough into the bowl, turning it once to coat it lightly in oil. Cover the bowl tightly with plastic wrap or a damp kitchen towel.
Place the bowl in a warm, draft-free spot. Let the dough rise for 1 to 1 ½ hours, or until it has doubled in size. The time will vary depending on the temperature of your kitchen. To test if it’s ready, gently poke the dough with a floured finger; if the indentation remains, it’s perfectly proofed.
Step 5: Shape the Loaf
Punch down the risen dough to release the air bubbles. Turn it out onto a lightly floured surface. Gently shape it into a rectangle roughly the length of your loaf pan.
Tightly roll the dough into a log, pinching the seam closed at the bottom. Tuck the ends under slightly to create a neat, uniform shape.
Step 6: The Second Rise
Generously butter your 9×5-inch loaf pan. Place the shaped dough log, seam-side down, into the prepared pan. Cover it again with plastic wrap or a towel and let it rise for the second time. This proof should take about 30-45 minutes, or until the dough has risen just above the rim of the pan.
Step 7: Bake to Golden Brown
While the dough is on its second rise, preheat your oven to 350°F (175°C).
Once proofed, uncover the loaf and place it in the preheated oven on the center rack. Bake for 30-40 minutes. The bread is done when it is deep golden brown on top and sounds hollow when you tap the top with your knuckles. For absolute accuracy, an instant-read thermometer inserted into the center of the loaf should read 190°F (88°C).
Step 8: Cool Completely
As soon as you remove the loaf from the oven, turn it out of the pan and onto a wire cooling rack. This prevents the bottom from getting soggy. It is absolutely vital to let the bread cool completely for at least 1-2 hours before slicing. The bread is still cooking internally during this time, and slicing it warm will result in a gummy, dense texture.
Nutrition Information
Please note: The following is an estimate based on the ingredients used and can vary significantly based on specific product brands and precise measurements. This information is provided as a guideline.
Serving Size: 1 slice (based on 12 slices per loaf)
Calories: ~185
Total Fat: 4g
Saturated Fat: 2g
Cholesterol: 20mg
Sodium: 320mg
Total Carbohydrates: 32g
Dietary Fiber: 1g
Sugars: 5g
Protein: 5g
The Last of the Recipe: Storing Your Masterpiece
Your beautiful loaf of Honey Buttermilk Bread is best enjoyed within 2-3 days. To maintain its freshness, store it in a bread box or a paper bag at room temperature. For longer storage, wrap the cooled loaf tightly in plastic wrap and then in foil before freezing for up to 3 months. Thaw at room temperature whenever a slice of homemade comfort is needed.
Baking this bread is more than following a recipe; it’s creating a memory. From the first whiff of yeast to the final, perfect slice, you’ve crafted something truly special. Enjoy the fruits of your labor, and share them with someone you love. Happy baking