canned chicken nuggets
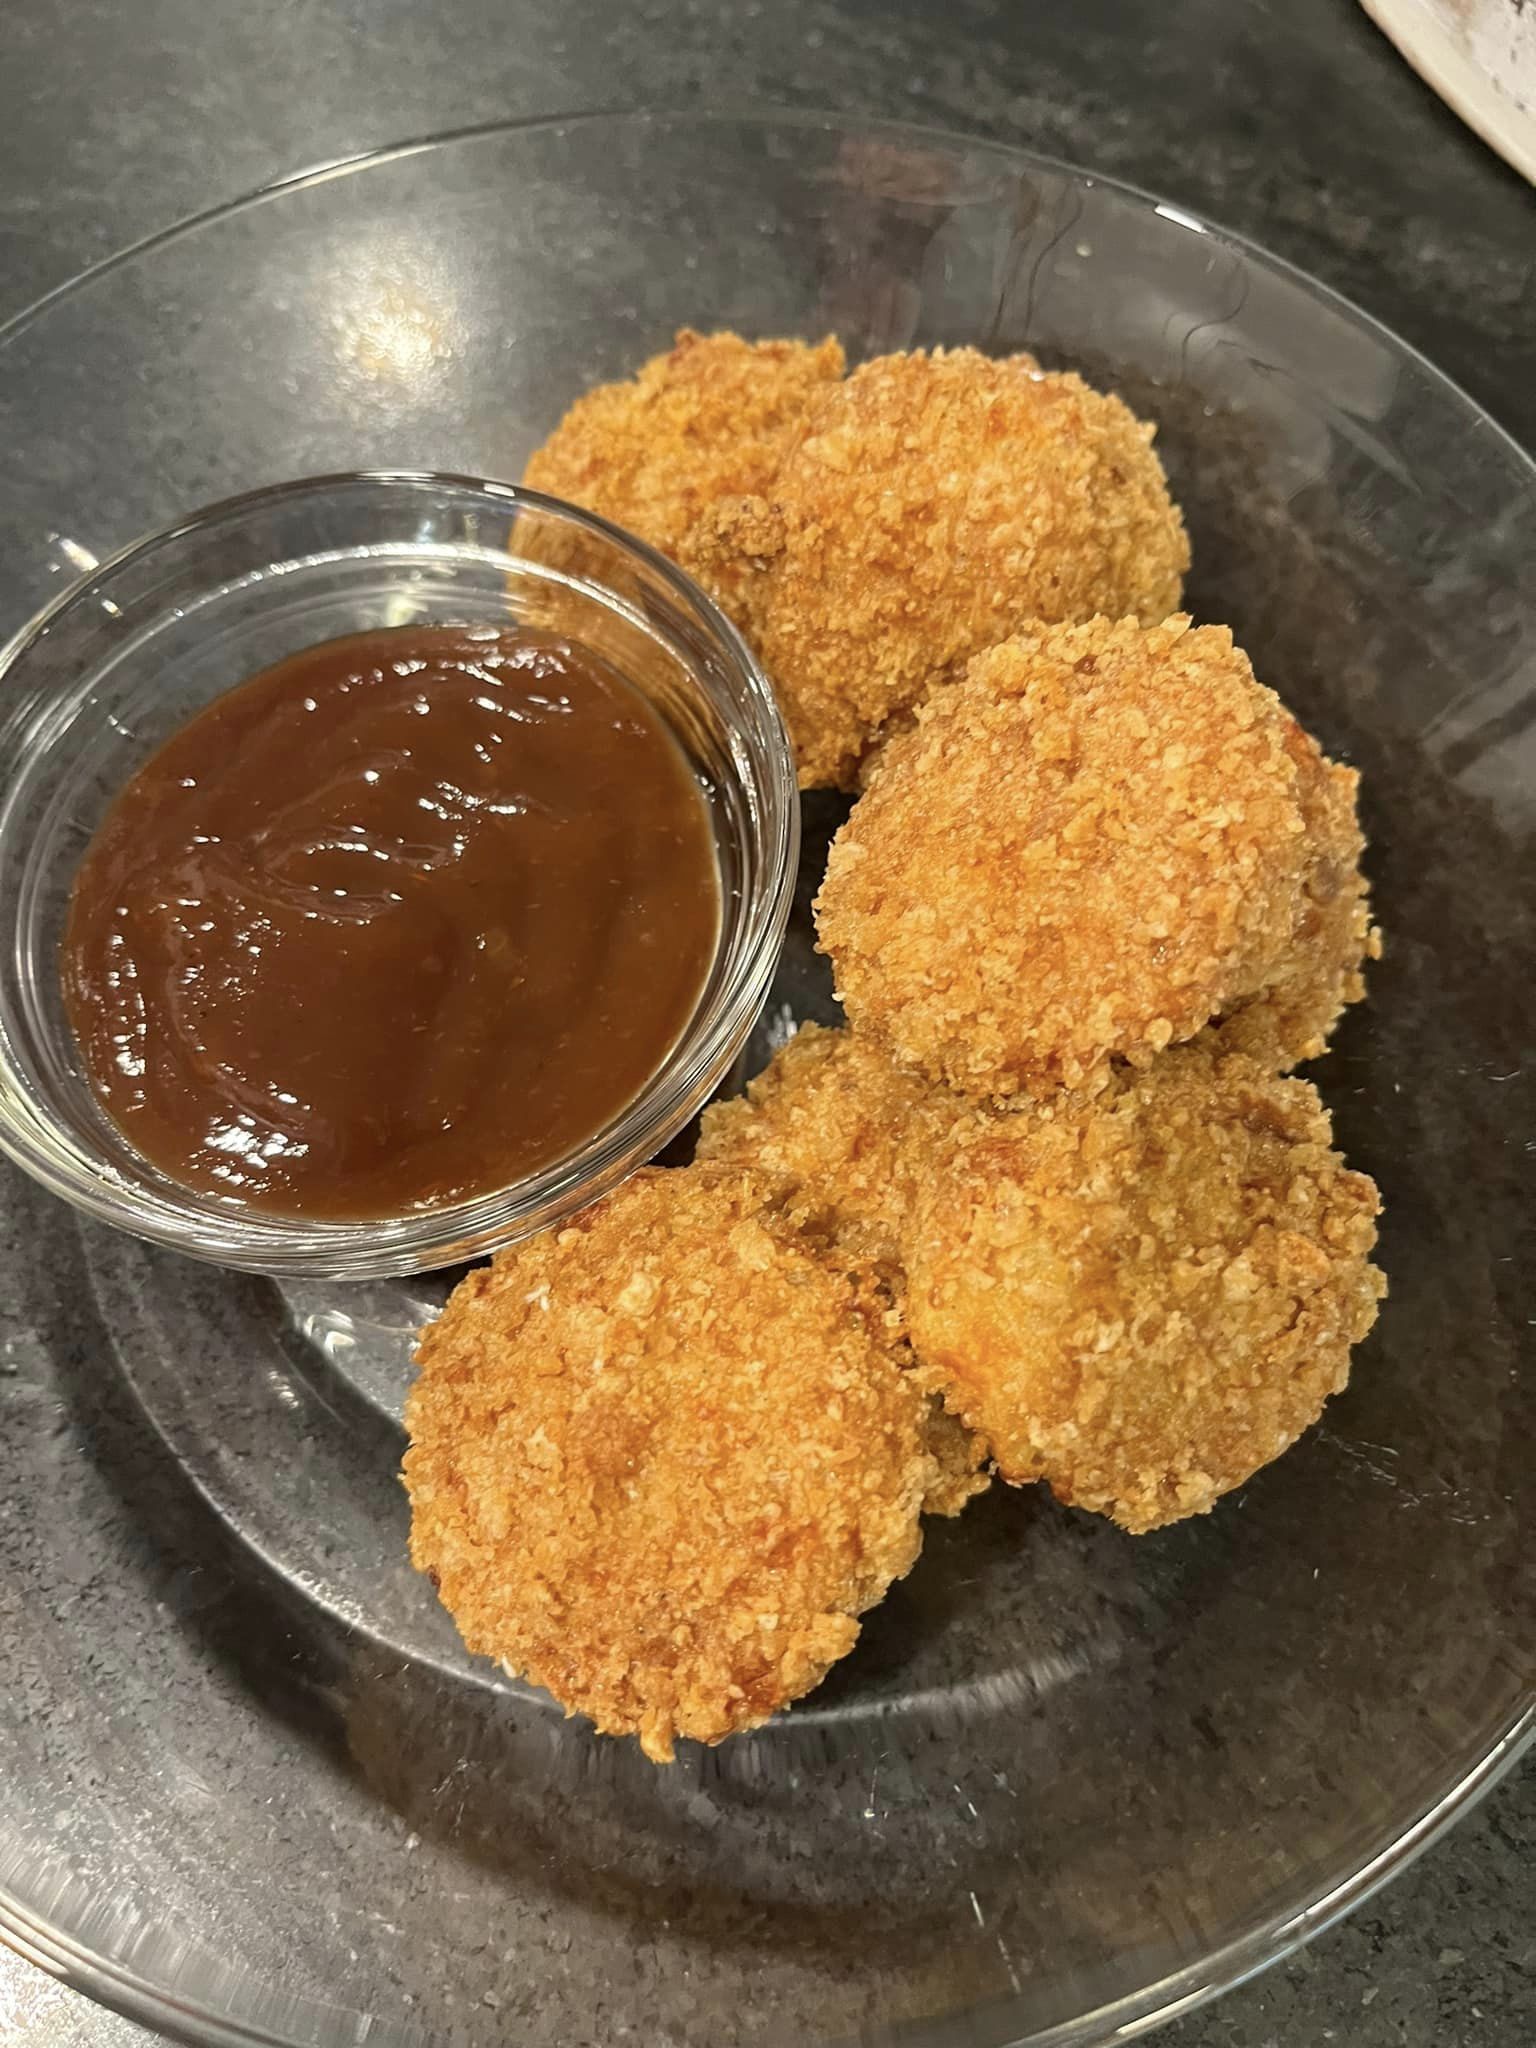
Canned Chicken Nuggets Recipe
Ingredients:
For the Chicken Nuggets:
- 2 lbs ground chicken (or finely chopped cooked chicken breast)
- 1/2 cup breadcrumbs
- 1/4 cup grated Parmesan cheese
- 1 egg
- 1 tsp garlic powder
- 1 tsp onion powder
- 1/2 tsp salt
- 1/2 tsp black pepper
- 1/2 tsp paprika (optional)
- 1 tbsp fresh parsley, chopped (or 1 tsp dried parsley)
For Canning:
- Chicken broth (or water)
- Canning jars, lids, and bands (pint-sized jars work well)
- Pressure canner (required for safely canning meat)
Instructions:
- Prepare the Chicken Nuggets:
- In a large bowl, combine the ground chicken, breadcrumbs, Parmesan cheese, egg, garlic powder, onion powder, salt, pepper, paprika, and parsley.
- Mix thoroughly until all ingredients are well combined.
- Shape the mixture into small, bite-sized nuggets, about 1 inch in diameter. Set aside.
- Pre-Cook the Nuggets (Optional but Recommended):
- Lightly fry the nuggets in a skillet over medium heat with a small amount of oil, just until they are browned on the outside but not fully cooked through. This step helps to hold their shape during canning and enhances their flavor.
- Set the pre-cooked nuggets aside on a plate lined with paper towels.
- Prepare the Canning Jars:
- Sterilize your canning jars, lids, and bands by boiling them in water for at least 10 minutes. Keep them hot until ready to use.
- Fill each jar loosely with the pre-cooked chicken nuggets, leaving about 1 inch of headspace at the top.
- Add Liquid:
- Pour hot chicken broth (or water) over the nuggets in the jars, maintaining the 1-inch headspace. The liquid should cover the nuggets completely, but don’t overfill.
- Remove Air Bubbles:
- Use a non-metallic utensil (like a plastic spatula) to remove any air bubbles from the jars. Adjust the headspace if necessary.
- Seal the Jars:
- Wipe the rims of the jars with a clean, damp cloth to remove any residue. Place the lids on the jars and secure them with the bands, tightening them until fingertip-tight.
- Process in a Pressure Canner:
- Place the jars in your pressure canner. Follow the manufacturer’s instructions for your specific model.
- Process the jars at 10 pounds of pressure for 75 minutes for pint jars or 90 minutes for quart jars. Adjust for altitude as necessary.
- Allow the canner to cool completely before removing the jars.
- Cool and Store:
- Once cooled, check the seals on the jars. If the center of the lid is concave and doesn’t move, the jar is sealed properly.
- Store the sealed jars in a cool, dark place for up to 1 year. If any jars didn’t seal, refrigerate and use within a week.
Tips:
- For a different flavor, you can experiment with different seasonings or add a bit of cheese to the nugget mixture.
- Always use a pressure canner when canning meat for safety, as water bath canning does not reach high enough temperatures to kill harmful bacteria.
Cooking and Canning Time:
- Prep Time: 30 minutes
- Pre-Cook Time: 10-15 minutes (optional)
- Canning Process Time: 75-90 minutes
- Total Time: Approximately 2-3 hours
Nutritional Information (per 4-5 nuggets):
- Calories: ~250 kcal
- Protein: ~25g
- Fat: ~12g
- Carbohydrates: ~10g
- Fiber: ~1g
These Canned Chicken Nuggets are great for quick meals. Just heat them up in the oven or microwave and enjoy!