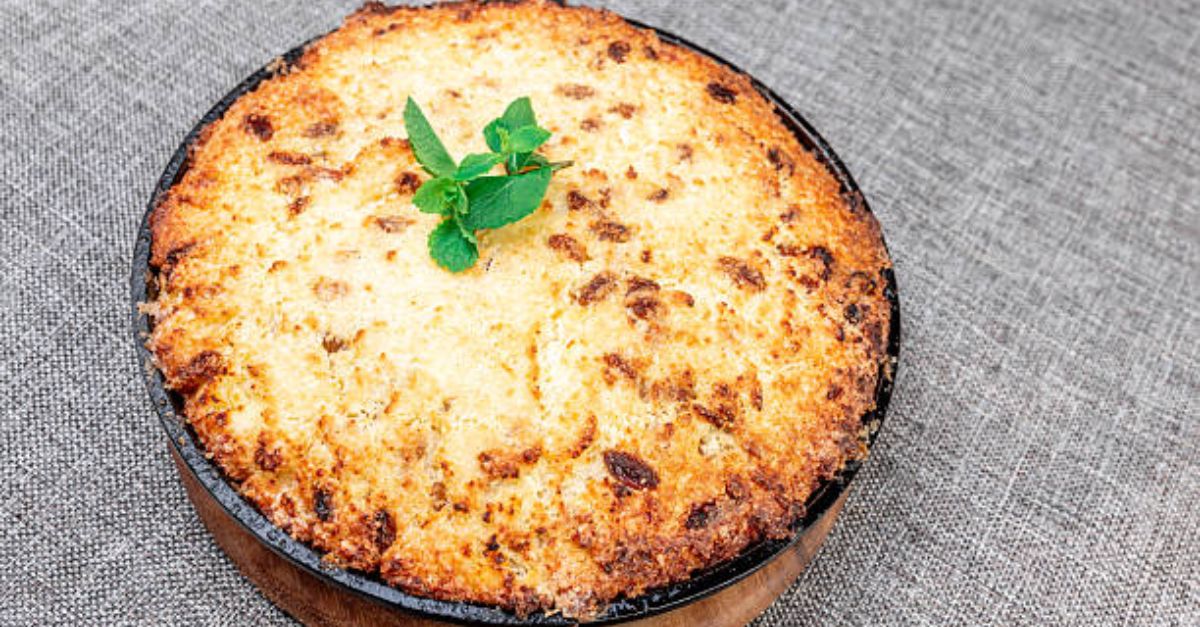
Chicken Kiev Casserole
| Prep Time | 20 minutes |
|---|---|
| Cook Time | 45 minutes |
| Total Time | 1 hour 5 minutes |
| Servings | 6–8 |
| Kitchen Intensity | ⭐⭐ (Moderate – easy assembly, one pan) |
Intensity Key:
⭐ = Easy (microwave/reheat only)
⭐⭐ = Moderate (some chopping, basic baking)
⭐⭐⭐ = Advanced (multiple techniques, careful timing)
Why this intensity? You’ll need to combine two mixtures (the garlic butter filling and the creamy topping) and assemble a layered casserole. No deep frying, no dough work, no precise rolling. Perfect for a confident home cook.
Ingredients
For the Garlic Herb Butter (The “Kiev” Soul)
-
1 cup (2 sticks) unsalted butter, softened
-
6 cloves garlic, minced (or 2 tbsp jarred minced garlic)
-
¼ cup fresh parsley, finely chopped
-
2 tbsp fresh dill, finely chopped (or 2 tsp dried dill)
-
1 tbsp fresh chives, snipped
-
1 tsp salt
-
½ tsp black pepper
-
½ tsp paprika (optional, for color)
For the Chicken & Casserole Base
-
2 lbs boneless, skinless chicken breasts (about 4 medium)
-
1 tsp salt
-
½ tsp black pepper
-
1 cup panko breadcrumbs
-
½ cup grated Parmesan cheese
For the Creamy Topping
-
1 cup sour cream (full-fat preferred)
-
½ cup chicken broth
-
1 tbsp Dijon mustard
-
1 tsp garlic powder
-
1 tsp onion powder
For the Crunchy Finish
-
2 tbsp unsalted butter, melted
-
½ cup panko breadcrumbs
-
2 tbsp fresh parsley (for garnish)
Special Equipment
-
9×13-inch baking dish
-
Medium mixing bowls (2)
-
Small saucepan (or microwave-safe bowl)
-
Whisk
-
Sharp knife & cutting board
Instructions
1. Preheat & Prep (Intensity: Low)
Preheat your oven to 375°F (190°C). Lightly grease a 9×13-inch baking dish with butter or nonstick spray.
2. Make the Garlic Herb Butter (Intensity: Medium – mixing & chilling)
In a medium bowl, combine the softened butter, minced garlic, parsley, dill, chives, salt, pepper, and paprika. Mash with a fork until completely uniform.
Pro tip: Use softened butter (leave out for 45 minutes). Cold butter won’t blend.
Scoop the butter onto a piece of plastic wrap or parchment paper. Roll into a rough log about 1.5 inches thick. Twist the ends and refrigerate for 10–15 minutes while you prep the chicken. (You want it firm but sliceable, not rock hard.)
3. Prepare the Chicken (Intensity: Medium – cutting)
Pat the chicken breasts dry with paper towels. Slice each breast horizontally (butterfly style) but not all the way through—open like a book. If the breasts are very thick, pound them gently between plastic wrap to ½-inch thickness.
Season both sides with 1 tsp salt and ½ tsp pepper.
4. Assemble the Kiev Pockets (Intensity: High for this recipe – careful stuffing)
Remove the chilled butter log from the fridge. Cut into 8 equal slices (about 1 tbsp each). Place 1–2 slices of the garlic butter in the center of each opened chicken breast. Fold the chicken over to enclose the butter. Don’t worry if a little butter escapes—that will flavor the casserole.
Arrange the stuffed chicken pieces seam-side down in the prepared baking dish. They can touch snugly.
5. Make the Creamy Topping (Intensity: Low – whisking)
In a small bowl, whisk together the sour cream, chicken broth, Dijon mustard, garlic powder, and onion powder until smooth. Pour the mixture evenly over and around the chicken. Spread it with the back of a spoon to cover exposed chicken.
6. First Crumb Layer (Intensity: Low)
In another small bowl, combine 1 cup panko breadcrumbs and ½ cup grated Parmesan. Sprinkle this evenly over the creamy topping. This layer will absorb juices and create a savory crust.
7. Bake the Casserole (Intensity: Zero – oven works)
Place the dish on a middle rack. Bake uncovered for 30 minutes.
8. Add the Final Crunch (Intensity: Low – stirring)
While the casserole bakes, mix the remaining ½ cup panko with 2 tbsp melted butter until all crumbs are coated. After 30 minutes, pull the casserole out and sprinkle the buttered panko over the top.
Return to the oven and bake for another 10–15 minutes, until the chicken is cooked through (internal temp 165°F / 74°C), the sauce is bubbly, and the topping is deep golden brown.
9. Rest and Serve (Intensity: None – patience needed)
Let the casserole rest for 5–10 minutes on the counter. This is crucial—it allows the garlic butter inside the chicken to settle slightly (it will still be gloriously runny). Garnish with fresh parsley.
Serve with: egg noodles, mashed potatoes, or crusty bread to soak up every drop of that garlic-herb-butter sauce.
Recipe Timelines – At a Glance
| Step | Time | Intensity |
|---|---|---|
| Preheat & prep baking dish | 2 min | Low |
| Make garlic butter | 5 min | Medium |
| Chill butter log | 10–15 min | Low (waiting) |
| Prep chicken | 5 min | Medium |
| Stuff & arrange chicken | 8 min | High (careful) |
| Whisk creamy topping | 2 min | Low |
| Add first crumb layer | 2 min | Low |
| Bake (first stage) | 30 min | Zero |
| Make buttered panko | 2 min | Low |
| Add final crumb & bake | 10–15 min | Zero |
| Rest | 5–10 min | None |
Chef’s Notes & Variations
Make ahead: Assemble through Step 6 (first crumb layer). Cover and refrigerate up to 24 hours. Add 5–7 minutes to the initial bake time since you’ll start with a cold dish. Do not add the final buttered panko until after the first 30 minutes of baking.
Lighter version: Use Greek yogurt instead of sour cream, reduce butter in filling to ¾ cup, and use whole wheat panko.
No fresh herbs? Substitute 1 tbsp dried parsley + 1 tsp dried dill + ½ tsp dried chives in the butter. For the garnish, just skip or use dried.
Spicy kick: Add ½ tsp red pepper flakes to the garlic butter and a dash of cayenne to the creamy topping.
Gluten free: Use gluten-free panko and verify your chicken broth is GF.
Storage & Reheating
-
Refrigerator: Airtight container for up to 4 days.
-
Freezer: Freeze the baked, cooled casserole for up to 2 months. Thaw overnight in the fridge.
-
Reheat: Oven at 350°F for 15–20 minutes (cover with foil first, then uncover last 5 minutes to re-crisp). Microwave works but the topping will soften.
Why This Works (The Food Science)
In traditional Chicken Kiev, cold herb butter is sealed inside raw chicken, then breaded and fried. The butter melts during cooking, basting the chicken from within. This casserole uses the same principle: chilled butter slices inside the chicken. The creamy topping and crumb layers act as a “cradle,” insulating the chicken so it stays moist while the butter melts. The two-stage crumb topping ensures you get a crispy top without burning the filling. Resting allows the butter to thicken slightly—but not solidify—so it floods your plate in that iconic, glorious way.