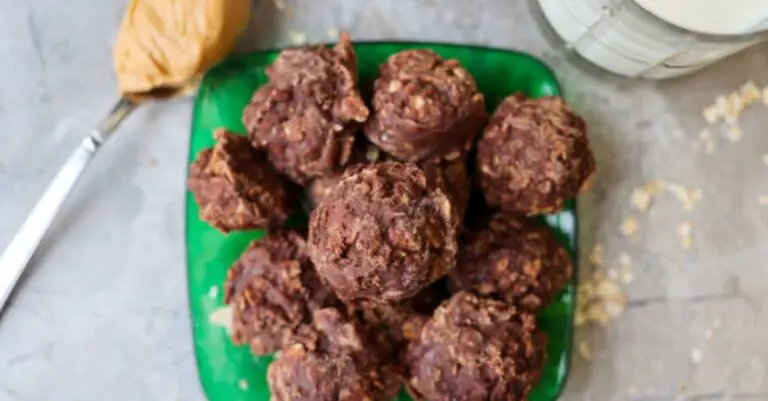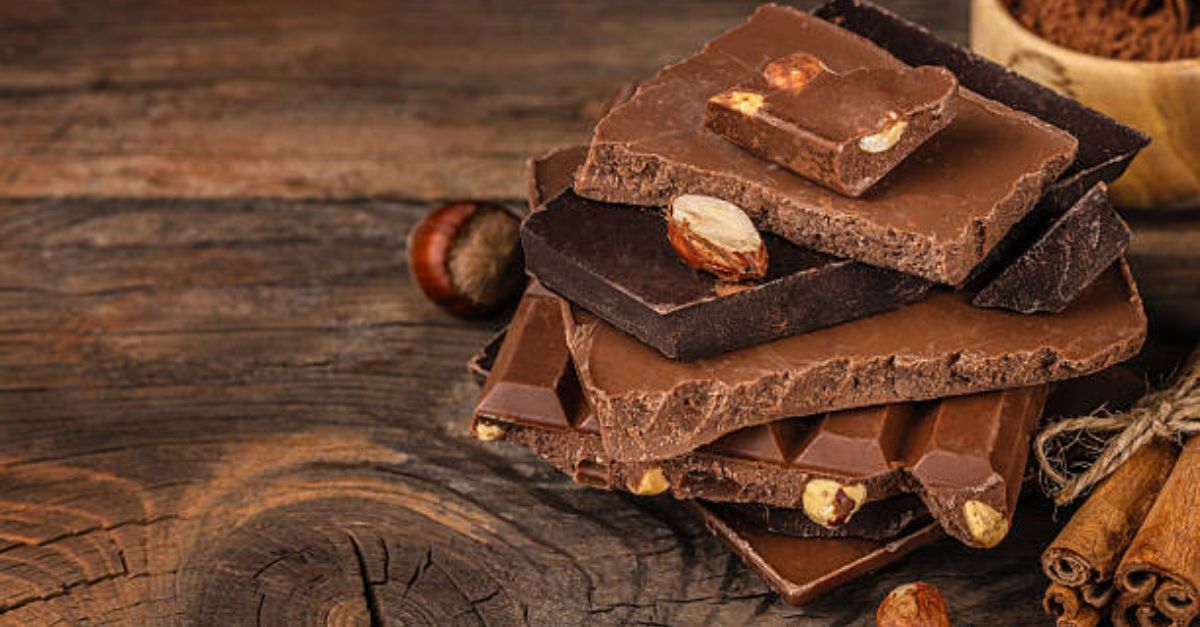
Chocolate Crunch Bars
Prep Time: 15 minutes
Chill Time: 1 hour
Total Time: 1 hour 15 minutes
Intensity Level: Low (No baking, simple melting)
Yield: 16 bars
Dietary: Vegetarian, Gluten-Free option
Why You’ll Love This Recipe
These Chocolate Crunch Bars deliver the perfect trifecta: a deep, rich chocolate layer, a buttery, crispy base, and a satisfying snap when you bite in. Best of all? No oven required. With just 15 minutes of active prep and a handful of pantry staples, you get a dessert that tastes like a high-end candy bar but comes together in one bowl. The intensity is low — think gentle melting and stirring — making this a perfect project for kids, beginner bakers, or anyone craving a fast, foolproof sweet treat.
Ingredients
For the Crunch Base
-
2 cups (200g) crispy rice cereal (use gluten-free if needed)
-
1/2 cup (115g) unsalted butter
-
1/4 cup (50g) granulated sugar
-
2 tbsp (30ml) honey or light corn syrup
For the Chocolate Topping
-
2 cups (340g) semi-sweet chocolate chips
-
1/2 cup (90g) milk chocolate chips (or additional semi-sweet)
-
2 tbsp (30g) coconut oil or unsalted butter (for sheen and easy cutting)
Optional Garnish
-
Flaky sea salt (1/2 tsp)
-
1/4 cup (30g) finely chopped toasted hazelnuts or pecans
Equipment Needed
-
8×8-inch (20x20cm) baking pan
-
Parchment paper
-
Large microwave-safe bowl
-
Medium saucepan (if using stovetop)
-
Rubber spatula
-
Measuring cups and spoons
Instructions
Intensity Level: Low
Total active work: ~15 minutes | Waiting time: 1 hour (fridge)
Step 1: Prepare the Pan (Intensity: Very Low)
Line your 8×8-inch baking pan with parchment paper, leaving two opposite sides overhanging. These “handles” will let you lift the bars out easily later. Set the pan aside.
Step 2: Make the Crunch Base (Intensity: Low – gentle heat, stirring)
In a medium saucepan over low heat, combine the butter, granulated sugar, and honey. Stir continuously with a rubber spatula until the butter is melted and the sugar has dissolved — about 3–4 minutes. Do not let it boil; you only want a smooth, pale golden syrup. Remove from heat.
Step 3: Combine with Cereal (Intensity: Very Low)
Pour the warm butter mixture over the crispy rice cereal in a large bowl. Stir gently until every piece of cereal is evenly coated. The mixture will be sticky and fragrant.
Step 4: Press the Base (Intensity: Low – gentle pressure)
Transfer the cereal mixture into your prepared pan. Use the back of a spoon or a piece of parchment paper to press it down firmly into an even, compact layer. Press hard enough so the bars won’t crumble later, but don’t crush every cereal puff. Set aside.
Step 5: Melt the Chocolate Topping (Intensity: Low – microwave or double boiler)
-
Microwave method (easiest): Place both chocolates and coconut oil in a microwave-safe bowl. Microwave in 20-second bursts on 50% power, stirring after each burst, until smooth (about 1 minute total).
-
Stovetop method: Fill a small saucepan with 1 inch of water and bring to a simmer. Place a heatproof bowl over the pot (not touching the water). Add chocolates and oil, stirring until melted.
Step 6: Assemble (Intensity: Very Low)
Pour the melted chocolate over the pressed cereal base. Tilt the pan to spread it evenly, or use a spatula to smooth it to the edges. Tap the pan gently on the counter to release air bubbles.
Step 7: Add Garnish (Optional)
Sprinkle flaky sea salt and/or chopped nuts over the wet chocolate.
Step 8: Chill and Set (Intensity: Zero – waiting only)
Refrigerate the pan uncovered for at least 1 hour, or until the chocolate is completely firm. For cleaner cuts, chill for 2 hours.
Step 9: Slice and Serve
Lift the block out using the parchment handles. Place on a cutting board and let sit at room temperature for 5 minutes (this prevents cracking). Cut into 16 bars using a sharp knife, wiping the blade clean between cuts.
Storage & Make-Ahead Tips
-
Room temperature: Store in an airtight container for up to 3 days (if your kitchen is cool).
-
Refrigerator: Keeps for up to 2 weeks. Layer bars between parchment paper.
-
Freezer: Wrap individually and freeze for up to 3 months. Thaw for 10 minutes before eating.
Nutrition Information (Per Bar, 1 of 16)
Approximate values – based on semi-sweet chocolate and no nuts
| Nutrient | Amount |
|---|---|
| Calories | 245 kcal |
| Total Fat | 15g |
| Saturated Fat | 9g |
| Trans Fat | 0g |
| Cholesterol | 15mg |
| Sodium | 65mg |
| Total Carbohydrates | 28g |
| Dietary Fiber | 2g |
| Total Sugars | 18g |
| Protein | 3g |
| Calcium | 20mg |
| Iron | 1.5mg |
| Potassium | 120mg |