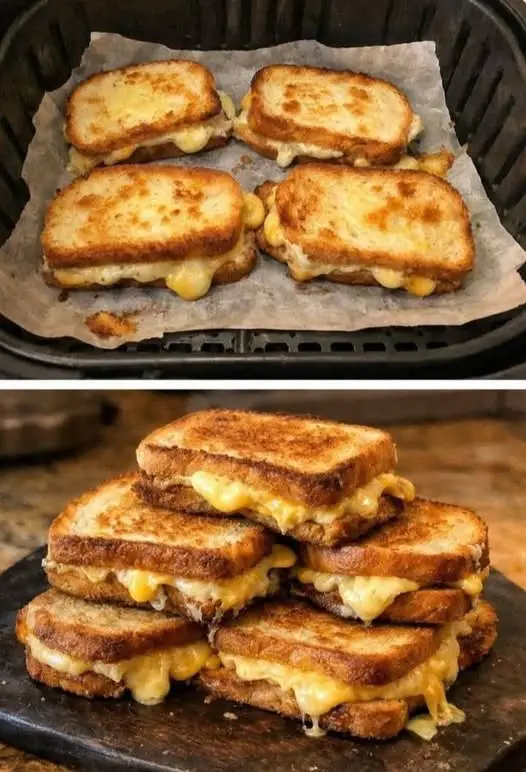
carnivore cheesy sandwich
-
Prep Time: 3 minutes
-
Cook Time: 8 minutes
-
Total Time: 11 minutes
-
Difficulty: Easy
-
Intensity Level: 2/5 (A little patience required for the cheese crisping)
-
Servings: 1 large sandwich
Ingredients
The quality of your ingredients is the only thing that matters here. Since we’re only using a few, make them count.
-
For the “Bread” (Cheese Shells):
-
1 ½ cups (about 150g) shredded low-moisture mozzarella cheese
-
Alternative: A blend of mozzarella and sharp cheddar works beautifully for a richer flavor.
-
-
For the Filling:
-
4-5 ounces (about 115-140g) thinly sliced roast beef, pastrami, or carnivore-friendly deli meat
-
2-3 slices of provolone cheese (or any good melting cheese like havarti or gouda)
-
1 large egg, fried over-easy or over-medium (optional, but highly recommended for richness)
-
1-2 tablespoons butter, tallow, or bacon grease (for frying the egg and the shells)
-
-
Optional Enhancers (Keep it carnivore):
-
A sprinkle of sea salt and freshly ground black pepper (if tolerated)
-
A drizzle of bacon fat over the finished sandwich
-
Instructions
Part 1: Create the Cheese Shells
This is the most critical step. We are making two individual cheese crisps that will act as your top and bottom “bread.”
-
Heat the Pan: Place a large, non-stick skillet or a well-seasoned cast-iron pan over medium heat (Intensity Level 2/5). You want even heat, but not so high that the cheese burns before it melts.
-
Form the Shells: Divide the shredded mozzarella into two even piles on the skillet, placing them a few inches apart. Gently press each pile with a spatula to flatten them into a round shape, about 5-6 inches in diameter. Do not touch them.
-
Cook to Golden Brown: Let the cheese melt and bubble. Cook for 3-4 minutes. You’ll know it’s ready when the edges are lacy, deep golden brown, and the center is set. Use a thin spatula to peek underneath. If it’s pale, let it go longer. The color is what gives you the crunch.
-
Flip and Finish: Carefully flip each cheese round with your spatula. Cook for another 1-2 minutes on the second side. This side doesn’t need as long. Remove both shells and place them on a paper towel-lined plate to drain any excess grease. They will crisp up as they cool for a minute.
Part 2: Prepare the Filling
While the shells rest, cook the egg and warm the meat.
-
Fry the Egg: In the same skillet (wipe out any excess oil if needed), melt 1 tablespoon of butter over medium-low heat (Intensity Level 1/5). Crack the egg into the pan. Cook until the whites are set but the yolk is still runny, about 2-3 minutes. For a sandwich, an over-easy or over-medium egg is best. Season with a pinch of salt and pepper if using. Remove and set aside.
-
Warm the Meat: Briefly warm your sliced roast beef or pastrami in the same pan for about 30 seconds per side. This isn’t to cook it, but just to take the chill off and enhance the flavor.
Part 3: Assemble the Masterpiece
Work quickly while the cheese shells are still pliable and the fillings are hot.
-
Layer the Base: Place one cheese shell on a cutting board or plate. This is your bottom bun. Immediately place 1-2 slices of provolone cheese on top. The residual heat from the shell will start to melt it.
-
Add Meat and Egg: Pile the warm roast beef on top of the provolone. Gently place the fried egg on the meat.
-
Top It Off: Add the remaining slice of provolone cheese on top of the egg, then cap it with the second cheese shell.
-
Set and Serve: Press down gently on the sandwich with your hand or a spatula. Let it sit for 30-60 seconds. This allows the cheese “buns” to fuse with the melting provolone inside, creating a cohesive sandwich that won’t fall apart.
Recipe Intensity & Timing Breakdown
To help you master this recipe, here is a timeline showing the intensity of activity required at each stage.
| Phase | Time | Intensity | Notes |
|---|---|---|---|
| Prep | 3 min | Low | Shred cheese, gather ingredients. Simple. |
| Making Shells | 4-5 min | Medium | Requires your full attention. Watch for the golden-brown color—do not walk away. |
| Flipping & Resting | 2 min | Low | Gentle work. Let shells crisp on paper towel. |
| Cooking Fillings | 3 min | Low | Frying an egg and warming meat is straightforward. |
| Assembly | 1 min | Low | Quick layering. The final step is a simple press. |