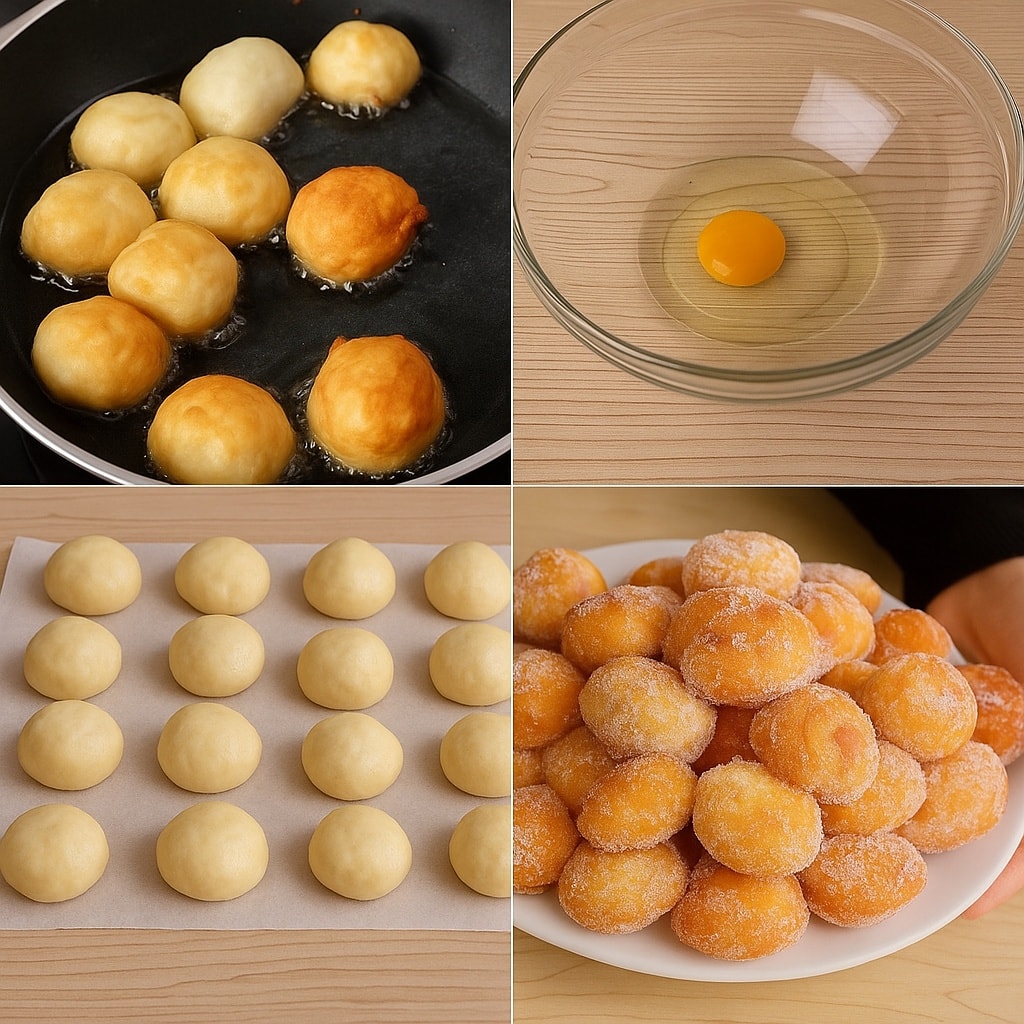
Easy Sugar Mini Donuts
Total Time: 25 Minutes (Prep: 15 mins, Cook: 10 mins)
Skill Level: Beginner-Friendly
Yield: About 24-28 Mini Donuts
Lasts For: Best served immediately, but can be stored in an airtight container at room temperature for up to 2 days.
A Note From Our Kitchen
There’s something irresistibly joyful about warm, homemade donuts. This recipe strips away all the fuss—no yeast, no proofing, no special piping bags. With just a bowl, a spoon, and a couple of common ingredients, you can have a pile of crispy-on-the-outside, tender-on-the-inside mini donuts coated in sparkling sugar in less than half an hour. Perfect for a spontaneous weekend treat, a fun project with kids, or impressing unexpected guests.
Ingredients
For the Donuts:
-
2 cups (250g) all-purpose flour
-
1/2 cup (100g) granulated sugar
-
2 teaspoons baking powder
-
1/2 teaspoon salt
-
1/4 teaspoon ground nutmeg (optional, but classic)
-
3/4 cup (180ml) whole milk, at room temperature
-
1 large egg, at room temperature
-
2 tablespoons (28g) unsalted butter, melted and slightly cooled
-
1 teaspoon pure vanilla extract
For Coating & Frying:
-
1 cup (200g) granulated sugar (for coating)
-
1 tablespoon ground cinnamon (optional, mix with the sugar for coating)
-
4 cups (about 1 liter) neutral frying oil (e.g., vegetable, canola, or peanut oil)
Equipment:
-
A heavy-bottomed pot or Dutch oven (for even heating)
-
Candy/deep-fry thermometer (highly recommended for perfect results)
-
Slotted spoon, spider skimmer, or tongs
-
Wire cooling rack set over a baking sheet
-
Two small bowls (for the coating sugar)
-
Paper towels
Step-by-Step Instructions
Step 1: Mix the Dry Ingredients
In a large mixing bowl, whisk together the flour, 1/2 cup sugar, baking powder, salt, and nutmeg (if using). This ensures the leavening is evenly distributed for a consistent rise.
Step 2: Combine the Wet Ingredients
In a separate bowl or large measuring jug, whisk the milk, egg, melted butter, and vanilla extract until fully combined and smooth.
Step 3: Make the Batter
Create a well in the center of the dry ingredients. Pour the wet mixture into the well. Using a wooden spoon or spatula, gently stir just until the ingredients are combined and no dry pockets of flour remain. The batter will be thick, sticky, and shaggy—do not overmix! Overmixing leads to tough donuts. Let the batter rest for 5 minutes while you heat the oil.
Step 4: Heat the Oil
Pour the oil into your heavy-bottomed pot. It should be at least 2 inches deep. Attach your candy thermometer to the side. Heat over medium heat until the oil reaches a steady 365°F (185°C). This is the sweet spot—hot enough to cook quickly without absorbing too much oil, but not so hot that the outside burns before the inside cooks.
Step 5: Prepare Your Stations
While the oil heats, set up your workstation for efficiency and safety:
-
Bowl 1: Place the coating sugar (mixed with cinnamon if desired).
-
Bowl 2: Place a few tablespoons of water. This is for wetting your fingers.
-
Line a baking sheet with paper towels and place the wire rack on top.
-
Keep your slotted spoon and a plate for the shaped donuts handy.
Step 6: Shape & Fry the Donuts
-
Once the oil is at temperature, slightly wet your fingers with the water. This prevents the batter from sticking.
-
Pinch off a heaping teaspoon-sized piece of batter. Gently roll it between your wet palms into a rough ball (perfection is not needed!). It should be about the size of a large marble or small walnut.
-
Carefully drop 5-6 dough balls into the hot oil. Do not overcrowd the pot, as it will lower the oil temperature dramatically.
-
Fry for 1 to 1 ½ minutes per side, flipping once, until they are puffed, deep golden brown, and cooked through. The internal temperature should be about 200°F (93°C) if you check one.
-
Use the slotted spoon to transfer the cooked donuts to the wire rack. Let the excess oil drain for 60 seconds—they should still be very hot for coating.
Step 7: Sugar Coating
-
While still very warm (but not scalding), roll each donut in the bowl of sugar until fully coated. The residual heat and slight oiliness help the sugar adhere perfectly.
-
Place the sugared donuts back on the clean part of the rack. Repeat the frying and coating process with the remaining batter, remembering to let the oil return to 365°F between each batch.
Serving & Storing
Serving: Serve your mini donuts warm for the ultimate experience—the sugar will be slightly crunchy and the centers cloud-soft. They are fantastic with a cup of coffee or a cold glass of milk.
Storing & Lasting: These donuts are truly at their peak within an hour of making. To store, place them in a single layer in an airtight container at room temperature for up to 2 days. They will lose their crisp exterior but remain tasty. We do not recommend refrigeration, as it accelerates staling.
Reheating Tip: To recapture a bit of freshness, you can reheat leftover donuts in a toaster oven or air fryer at 350°F for 2-3 minutes.
Nutrition Information (Approximate, Per Donut)
-
Calories: ~85 kcal
-
Total Fat: 3.5g
-
Saturated Fat: 0.5g
-
Cholesterol: 5mg
-
Sodium: 55mg
-
Total Carbohydrates: 13g
-
Dietary Fiber: 0.2g
-
Sugars: 7g
-
Protein: 1g
Nutritional values are estimates based on the ingredients used and a yield of 26 donuts, calculated using a standard nutrition database. Actual values may vary depending on specific ingredients, exact size, and oil absorption.