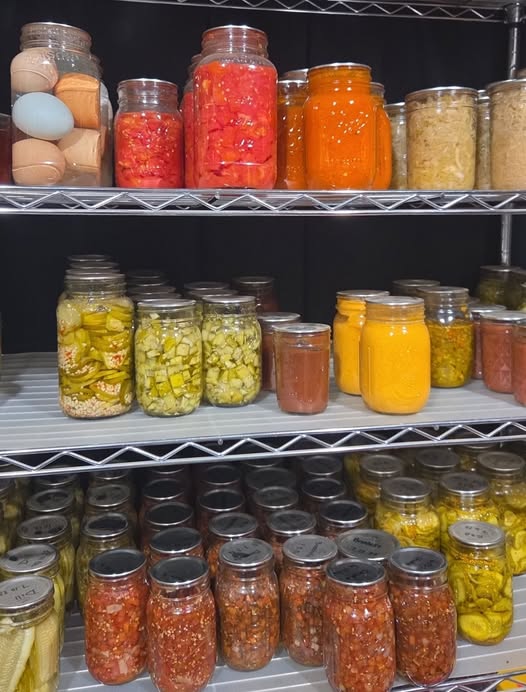
home canning pantry
Preparation Time: 30 minutes
Processing Time: 40 minutes
Cooling Time: 12–24 hours
Total Time: Approximately 1 hour 10 minutes plus cooling
Difficulty Level: Intermediate
Cooking Intensity: Medium
Yield: 6 quart jars
Ingredients
- 4 cups carrots, peeled and sliced
- 4 cups green beans, trimmed and cut
- 4 cups corn kernels
- 4 cups peas
- 12 cups water
- 6 teaspoons canning salt (optional)
Equipment Needed
- Pressure canner
- 6 quart-size canning jars
- New canning lids and bands
- Jar lifter
- Funnel
- Bubble remover tool
- Large stockpot
- Clean kitchen towels
Safety Note
Low-acid vegetables must be processed using a pressure canner. Water-bath canning is not safe for preserving plain vegetables.
Always follow tested canning procedures and inspect jars before use.
Step 1: Prepare the Jars
Time: 10 minutes
Intensity: Easy
Wash jars, lids, and bands thoroughly with hot soapy water.
Rinse well.
Keep jars hot until ready to fill by placing them in hot water or a dishwasher.
Prepare lids according to the manufacturer’s instructions.
Step 2: Prepare the Vegetables
Time: 15 minutes
Intensity: Easy
Wash all vegetables thoroughly.
Peel carrots and slice into uniform rounds.
Trim green beans and cut into bite-sized pieces.
Remove corn kernels from the cob if using fresh corn.
Measure vegetables carefully to maintain consistent jar filling.
Step 3: Blanch the Vegetables
Time: 5 minutes
Intensity: Medium Heat
Bring a large pot of water to a boil.
Blanch vegetables separately:
- Carrots: 3 minutes
- Green beans: 3 minutes
- Corn: 2 minutes
- Peas: 2 minutes
Drain immediately.
Blanching helps preserve color, texture, and flavor.
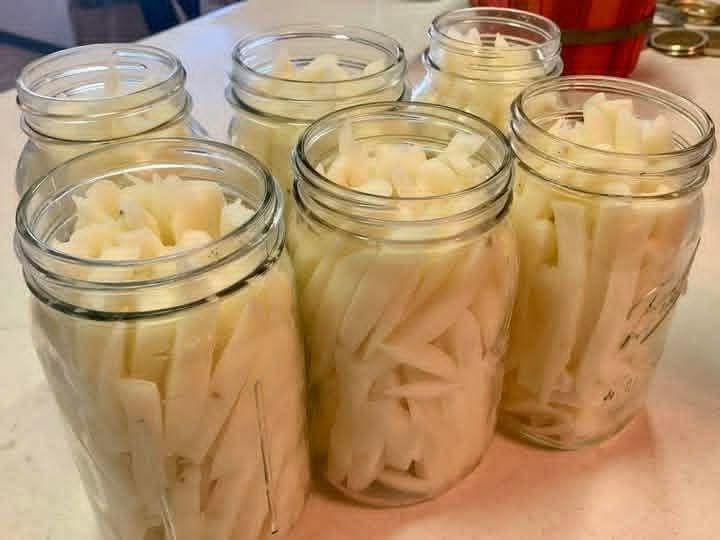
Step 4: Fill the Jars
Time: 10 minutes
Intensity: Easy
Using a funnel, fill each hot jar with mixed vegetables.
Leave approximately 1 inch of headspace at the top.
Add 1 teaspoon canning salt to each quart jar if desired.
Pour boiling water over vegetables while maintaining 1 inch of headspace.
Step 5: Remove Air Bubbles
Time: 3 minutes
Intensity: Easy
Insert a bubble remover tool along the inside of each jar.
Gently move it around to release trapped air pockets.
Add additional boiling water if necessary to maintain headspace.
Wipe jar rims with a clean damp cloth.
Apply lids and screw bands until fingertip tight.
Step 6: Load the Pressure Canner
Time: 5 minutes
Intensity: Easy
Place filled jars onto the rack inside the pressure canner.
Follow the manufacturer’s directions regarding water level.
Secure the lid properly.
Step 7: Process the Jars
Time: 40 minutes
Intensity: Medium to High
Vent steam according to your canner’s instructions.
Process quart jars at the pressure recommended for your altitude and canner type.
For most pressure canners:
- Dial Gauge: 11 PSI
- Weighted Gauge: 10 PSI
Process for 40 minutes.
Maintain steady pressure throughout processing.
Step 8: Cool the Canner
Time: 20–30 minutes
Intensity: No Heat
Turn off heat and allow the canner to cool naturally.
Do not force cool the canner.
Wait until pressure reaches zero before opening.
Carefully remove the lid.
Step 9: Remove and Cool Jars
Time: 12–24 Hours
Intensity: No Heat
Using a jar lifter, place jars on a towel-lined counter.
Leave space between jars.
Allow them to cool undisturbed for 12 to 24 hours.
Avoid tightening bands or testing seals during this period.
Step 10: Check Seals and Store
Time: 5 minutes
Intensity: Easy
After cooling:
- Remove screw bands
- Check each lid seal
- Ensure lids do not flex when pressed
Label jars with contents and date.
Store in a cool, dark, dry pantry.
Organizing Your Home Canning Pantry
A successful pantry is more than just canned food. Proper organization helps maximize storage life and convenience.
Use Strong Shelving
Choose sturdy shelves capable of supporting heavy jars.
Label Everything
Include:
- Product name
- Processing date
- Batch number (optional)
Rotate Stock
Follow the “first in, first out” method.
Use older jars before newly canned products.
Store in a Cool Location
Ideal storage temperatures range from:
50°F to 70°F (10°C to 21°C)
Avoid direct sunlight and excessive heat.
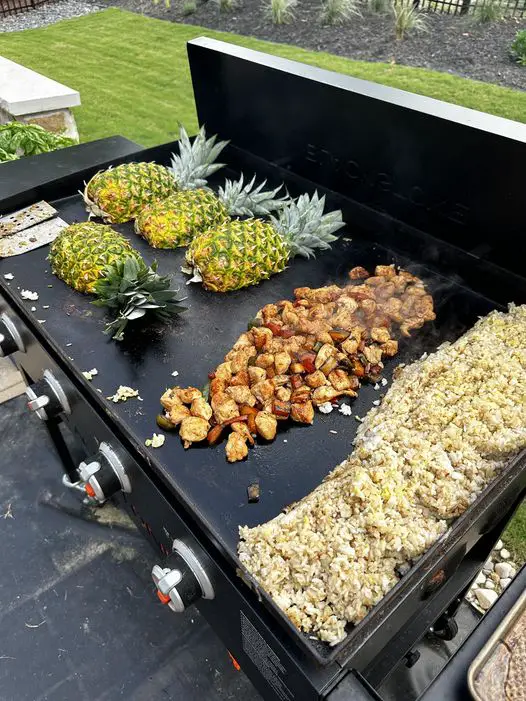
Additional Pantry Staples to Can
A complete home canning pantry may include:
Fruits
- Peaches
- Pears
- Applesauce
- Pineapple
Vegetables
- Green beans
- Carrots
- Potatoes
- Corn
Condiments
- Tomato sauce
- Salsa
- Pickles
- Relishes
Preserves
- Strawberry jam
- Blackberry jelly
- Peach preserves
Soups
- Vegetable soup
- Chicken stock
- Beef broth
Tips for Successful Home Canning
Start with Fresh Produce
Fresh, high-quality ingredients yield the best canned products.
Inspect Jars Regularly
Discard any jars with:
- Broken seals
- Mold
- Unusual odors
- Leaking contents
Keep Records
Maintain a notebook documenting:
- Recipes used
- Processing times
- Dates canned
Avoid Overfilling
Proper headspace is critical for safe sealing.
Common Mistakes to Avoid
Using Damaged Jars
Always inspect jars for cracks or chips.
Ignoring Processing Times
Accurate processing ensures food safety.
Reusing Single-Use Lids
Use new lids unless specifically designed for reuse.
Storing in Warm Areas
Heat shortens shelf life and may affect food quality.
Pantry Meal Ideas
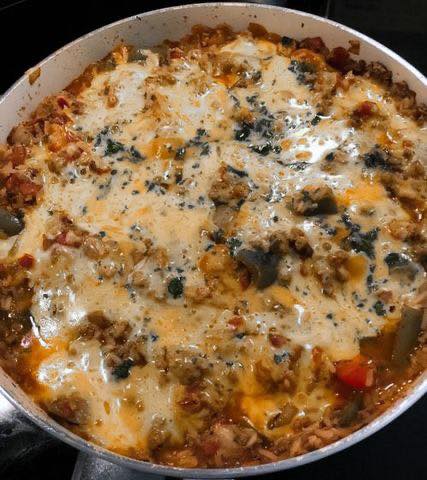
Home-canned vegetables can be used in:
- Vegetable soup
- Chicken pot pie
- Beef stew
- Pasta dishes
- Casseroles
- Rice bowls
Having ready-to-use vegetables simplifies meal preparation and reduces cooking time.
Storage Life
For best quality:
- Use within 12–18 months
Properly sealed jars often remain safe longer, but flavor and texture are best during the first year.
Nutritional Information
Per 1-Cup Serving of Canned Mixed Vegetables
- Calories: 85
- Protein: 3 g
- Total Fat: 1 g
- Saturated Fat: 0 g
- Carbohydrates: 18 g
- Fiber: 5 g
- Sugars: 6 g
- Sodium: 280 mg (with added salt)
- Potassium: 320 mg
- Vitamin A: 80% DV
- Vitamin C: 20% DV
- Iron: 6% DV