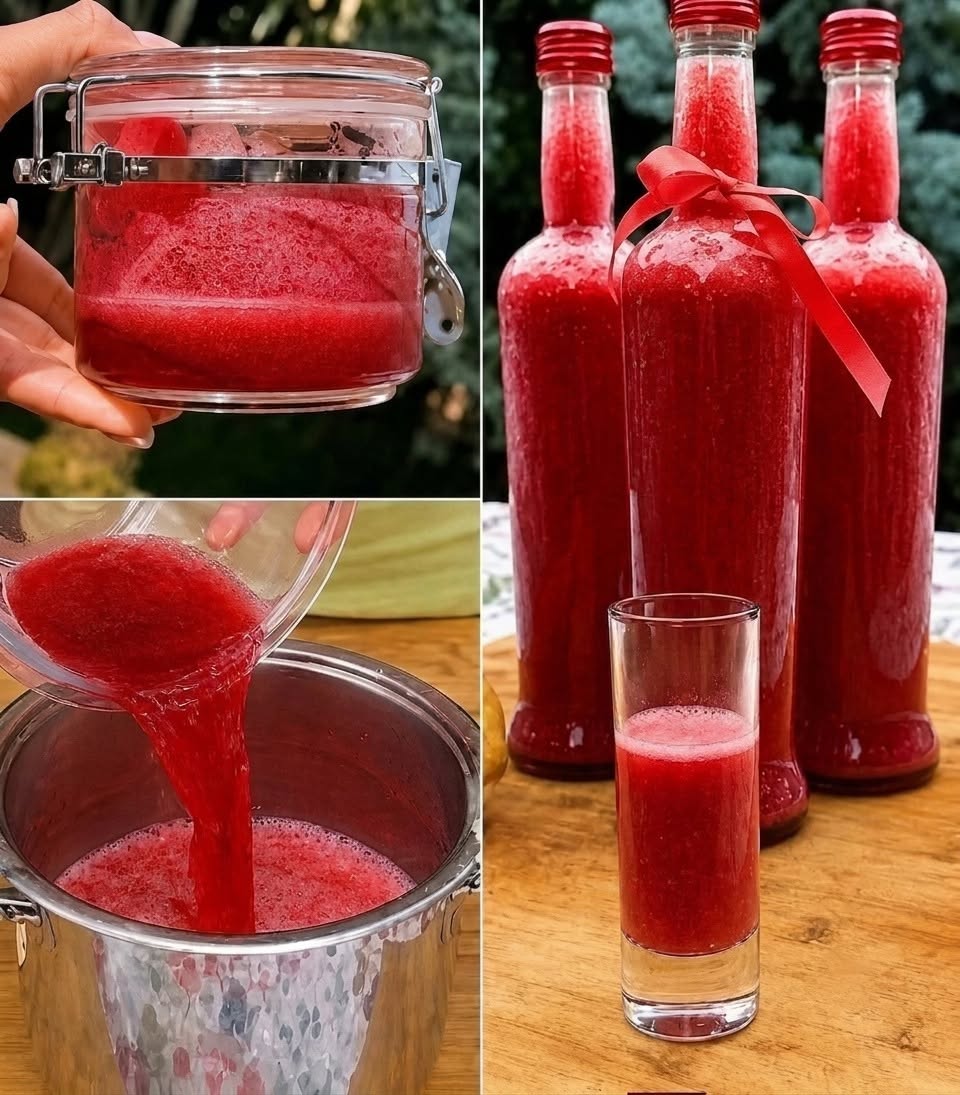
Homemade Berry Syrup
Prep Time | 5 minutes |
| Cook Time | 15 minutes |
| Total Time | 20 minutes |
| Intensity Level | Easy (1/5) – Minimal chopping, basic stovetop simmering |
| Yield | Approximately 1.5 cups (360 ml) |
| Serving Size | 1 tablespoon (15 ml) |
Nutrition Information (per 1 tablespoon serving)
Calories: 35 | Total Fat: 0g | Sodium: 0mg | Total Carbohydrates: 9g | Dietary Fiber: 0g | Sugars: 8g | Protein: 0g | Vitamin C: 6% DV | Iron: 2% DV
Note: Nutritional values are estimates and vary based on berry type and sugar quantity.
Ingredients
-
2 cups fresh or frozen mixed berries (strawberries, blueberries, raspberries, blackberries)
-
1/2 cup granulated sugar (adjust to taste)
-
1/2 cup water
-
1 tablespoon fresh lemon juice (balances sweetness and helps preservation)
-
(Optional) 1 teaspoon vanilla extract or a small cinnamon stick for added depth
Equipment Needed
-
Medium saucepan
-
Wooden spoon or silicone spatula
-
Fine-mesh strainer or cheesecloth
-
Bowl for straining
-
Glass jar or bottle with a tight-fitting lid (sterilized)
Instructions
Step 1: Combine Ingredients (Intensity: Low)
In a medium saucepan, combine the berries, sugar, water, and lemon juice. If using a cinnamon stick, add it now. Stir gently to coat the berries.
Step 2: Bring to a Simmer (Intensity: Low → Medium)
Place the saucepan over medium heat. Cook for 3–4 minutes, stirring occasionally, until the sugar dissolves and the berries begin to release their juices and soften. The mixture should come to a gentle simmer (small bubbles around the edges), not a rolling boil.
Step 3: Mash and Infuse (Intensity: Low)
Reduce heat to low. Using the back of a wooden spoon or a potato masher, gently mash the berries to release more flavor and color. Continue simmering on low for 10–12 minutes, stirring every few minutes, until the syrup has thickened slightly and coats the back of a spoon. Note: It will thicken more as it cools.
Step 4: Strain the Syrup (Intensity: Low)
Place a fine-mesh strainer over a clean bowl or large measuring cup. Pour the berry mixture through the strainer. Use the back of a spoon to press the solids gently to extract all the liquid. Do not scrape the bottom of the strainer—that’s where the cloud-producing pulp sits. Discard the solids (or save them for spreading on toast or stirring into yogurt).
Step 5: Add Vanilla (Optional – Intensity: Low)
If using vanilla extract, stir it into the warm strained syrup.
Step 6: Cool and Store (Intensity: Zero)
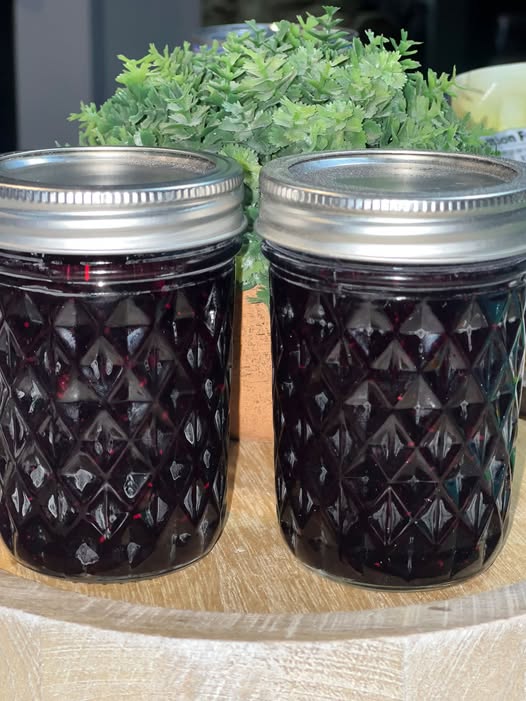
Allow the syrup to cool completely to room temperature (about 30 minutes). Transfer to a sterilized glass jar or bottle. Seal tightly.
Storage & Shelf Life
-
Refrigerator: Stores for up to 2–3 weeks.
-
Freezer: Pour into ice cube trays, freeze, then transfer to a freezer bag for up to 3 months.
-
Canning (for long-term pantry storage): Process in a water bath canner for 10 minutes (adjust for altitude). Not recommended for low-acid berry mixes unless you add extra lemon juice.
Recipe Variations
-
Low-Sugar Version: Use 1/4 cup honey or maple syrup instead of sugar, plus 1 tablespoon of chia seeds after straining (let sit 10 minutes to thicken).
-
Spiced Berry Syrup: Add 1 star anise, 2 cloves, or a 1-inch piece of fresh ginger during simmering (remove before straining).
-
Seed-Free: For an ultra-smooth syrup, strain twice—once through a coarse strainer, then through a fine-mesh nut milk bag.
-
Berry Compote (no straining): Skip straining and use the chunky berry mixture as a topping for cheesecake or oatmeal.
Ways to Use Homemade Berry Syrup
| Breakfast | Desserts | Drinks |
|---|---|---|
| Pancakes & waffles | Ice cream | Lemonade |
| French toast | Cheesecake | Cocktails (vodka + soda) |
| Oatmeal or yogurt | Panna cotta | Sparkling water |
| Crepes | Brownies (drizzle) | Hot tea or latte |