Homemade Garlic Dill Pickles
-
Prep Time: 20 minutes
-
Cook Time: 0 minutes (Raw Pack Method)
-
Fermentation / Resting Time: 48 hours in the refrigerator (or longer for deeper flavor)
-
Total Time: 48 hours 20 minutes
-
Yield: 1 Quart Jar (approx. 10–12 servings)
Flavor & Technique Intensities
-
Tanginess: 4 / 5 (Bright, sharp vinegar profile)
-
Garlic Intensity: 4 / 5 (Robust, savory garlic infusion)
-
Dill Aroma: 5 / 5 (Fresh, herbaceous garden dill notes)
-
Spice / Heat: 1 / 5 (Mild warmth from optional red pepper flakes)
-
Difficulty Level: 1 / 5 (Beginner-friendly, no-cook refrigerator method)
Ingredients
To achieve the best possible texture and flavor, ingredient quality is paramount. Always choose small, firm cucumbers and fresh herbs.
-
Cucumbers: 1.5 lbs (about 4 to 6 small-to-medium) Kirby cucumbers or Persian cucumbers. Avoid large slicing cucumbers, as they tend to have too much water and a soft texture.
-
Garlic: 5 to 6 fresh cloves, peeled and gently smashed to release their natural oils.
-
Fresh Dill: 3 to 4 large fresh dill sprigs (with heads if available).
-
Water: 1 cup filtered or distilled water (chlorine in tap water can inhibit flavor and crispness).
-
White Vinegar: 1 cup distilled white vinegar (5% acidity for the classic sharp pickle tang).
-
Pickling Salt: 1.5 tablespoons kosher salt or canning/pickling salt (avoid table salt, as the anti-caking agents and iodine will cloud the brine).
-
Whole Spices:
-
1 teaspoon whole black peppercorns
-
1 teaspoon yellow mustard seeds
-
0.5 teaspoon coriander seeds
-
Optional: 0.25 teaspoon red pepper flakes (for a very mild kick)
-
-
Crispness Secret: 1 fresh grape leaf, oak leaf, or a pinch of calcium chloride (pickle crisp) placed at the bottom of the jar. Natural tannins in leaves help preserve the cellular structure of the cucumbers, ensuring an elite crunch.
Equipment Needed
-
1 Quart-sized glass mason jar with a tight-fitting lid
-
Measuring cups and spoons
-
Sharp chef’s knife and cutting board
-
Whisk and small mixing bowl for the brine
Step-by-Step Instructions
Step 1: Prep the Cucumbers
-
Wash the cucumbers thoroughly under cold running water, gently scrubbing away any dirt or residue.
-
Slice off about 1/16 of an inch from both the blossom end (the bottom) and the stem end of each cucumber.
Pro Tip: The blossom end contains natural enzymes that can break down the pectin in cucumbers and make them soft. Trimming this end is essential for maintaining a crisp texture.
-
Leave the cucumbers whole for maximum crunch, or slice them into spears, chips, or rounds depending on your preference.
Step 2: Sterilize and Pack the Jar
-
Ensure your quart-sized mason jar and lid are thoroughly washed with hot, soapy water and rinsed clean.
-
Place the grape leaf (if using) and half of the fresh dill sprigs at the very bottom of the jar.
-
Add the smashed garlic cloves, whole black peppercorns, yellow mustard seeds, coriander seeds, and red pepper flakes directly onto the bed of herbs.
-
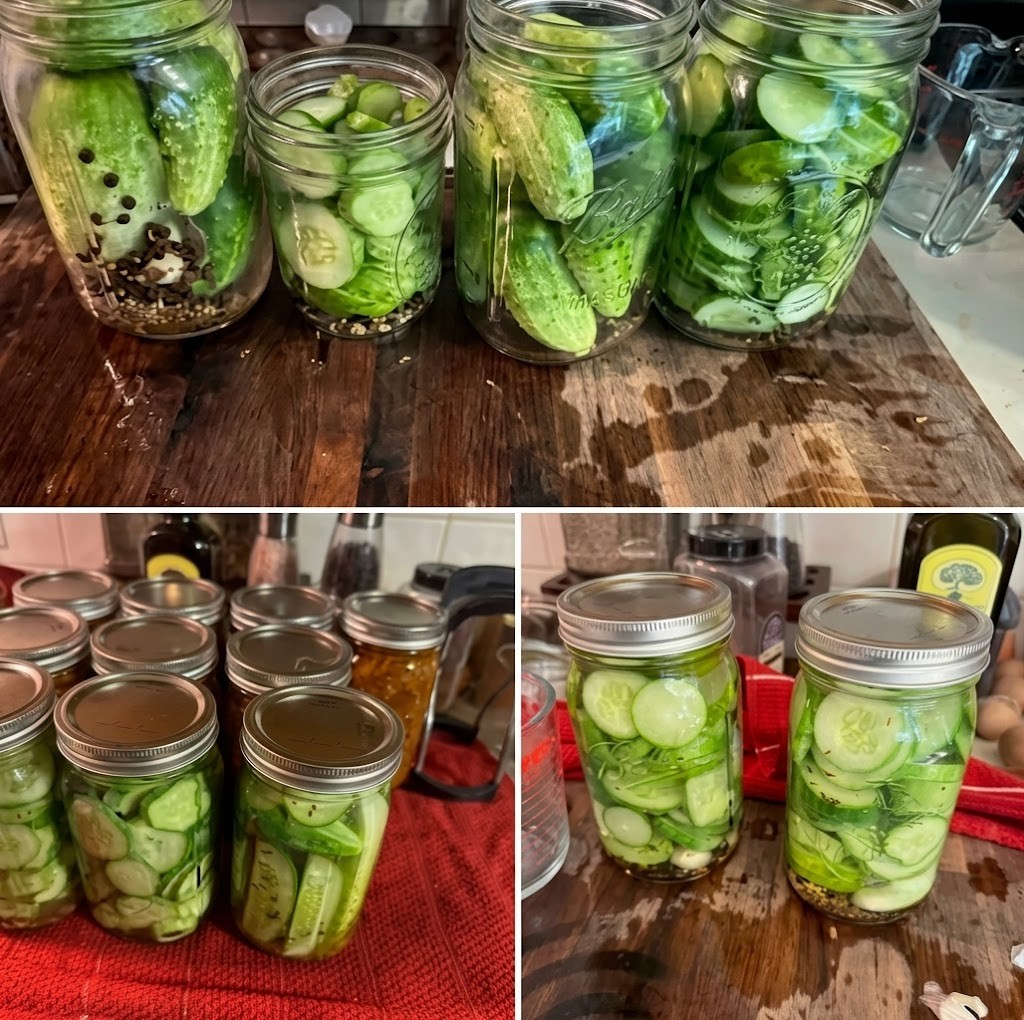
Pack the prepared cucumbers tightly and vertically into the jar. Wedge them in as closely as possible so they do not float or shift once the liquid is added.
-
Tuck the remaining dill sprigs down the sides of the jar among the cucumbers.
Step 3: Mix the Brine
-
In a small mixing bowl or large measuring cup, combine 1 cup of filtered water, 1 cup of distilled white vinegar, and 1.5 tablespoons of pickling salt.
-
Whisk vigorously for 1 to 2 minutes until the salt is completely dissolved into the liquid solution.
Step 4: Pour and Seal
-
Pour the brine mixture directly into the packed mason jar, ensuring the cucumbers are completely and totally submerged beneath the liquid line. Leave about half an inch of headspace at the top of the jar.
-
Tap the jar gently on your countertop a few times to dislodge any trapped air bubbles.
-
Wipe the rim of the jar clean with a damp towel to remove any salt or debris, then place the lid on top and screw it down firmly.
Step 5: Chill and Cure
-
Transfer the sealed jar directly into the refrigerator.
-
Allow the pickles to cure and absorb the flavors for at least 48 hours before opening. For the absolute best, fully developed garlic and dill flavor profile, let them sit for 4 to 5 days.
Storage and Shelf Life
-
Refrigerator Storage: Because this is a refrigerator pickle method (non-canned/non-processed), the jar must be kept stored in the refrigerator at all times.
-
Shelf Life: Properly stored in the coldest part of your refrigerator, these pickles will stay fresh, crisp, and flavorful for up to 2 months. Their crispness is at its peak during the first 3 weeks.
Nutritional Information
Serving size: 1 oz (approx. 28g / 2-3 pickle chips or a small spear)
-
Calories: 5 kcal
-
Total Fat: 0 g
-
Saturated Fat: 0 g
-
-
Cholesterol: 0 mg
-
Sodium: 280 mg (approx. 12% DV due to pickling brine)
-
Total Carbohydrates: 1 g
-
Dietary Fiber: 0.3 g
-
Sugars: 0.5 g
-
-
Protein: 0.2 g
-
Vitamin K: 14 mcg (12% DV)