canned diced tomatoes
- Prep Time: 30 minutes
- Cook Time: 45 minutes
- Processing Time: 40–50 minutes (depending on jar size and altitude)
- Total Time: About 2 hours
- Yield: 6–7 pint jars
Ingredients
- 12 pounds ripe Roma or paste tomatoes
- 6 tablespoons bottled lemon juice (1 tablespoon per pint jar)
- 3 teaspoons canning salt (optional, ½ teaspoon per pint jar)
- Water for blanching
- Ice water for cooling
Equipment Needed
- Large stockpot
- Water bath canner with rack
- Pint or quart canning jars
- New canning lids and rings
- Jar lifter
- Bubble remover or plastic spatula
- Canning funnel
- Large bowl filled with ice water
- Sharp knife
- Clean kitchen towels
Choosing the Best Tomatoes
Paste tomatoes such as Roma or San Marzano are ideal because they have fewer seeds, thicker flesh, and less water. However, any firm, ripe tomato can be used. Avoid overripe, bruised, moldy, or damaged tomatoes, as these can affect both flavor and safety.
Step-by-Step Instructions
Step 1: Prepare the Jars
Wash jars, lids, and rings thoroughly in hot, soapy water. Rinse well and keep the jars hot until ready to fill. Prepare your water bath canner by filling it halfway with water and bringing it to a gentle simmer.
Step 2: Wash the Tomatoes
Rinse the tomatoes under cool running water to remove dirt and debris. Remove any stems or blemishes.
Step 3: Blanch the Tomatoes
Bring a large pot of water to a rolling boil.
Carefully lower the tomatoes into the boiling water for 30 to 60 seconds, or until the skins begin to split.
Immediately transfer them to an ice-water bath to stop the cooking process.
Step 4: Peel and Dice
Once cool enough to handle, slip the skins off the tomatoes.
Cut out the cores and dice the tomatoes into bite-sized pieces. Collect any juices released during cutting and reserve them for the jars.
Step 5: Heat the Tomatoes
Transfer the diced tomatoes and their juices to a large saucepan.
Bring to a gentle boil over medium heat, stirring occasionally.
Simmer for 5 minutes.
Cooking Intensity:
- Blanching: High heat
- Simmering: Medium heat
- Processing: Steady boiling
Step 6: Add Acid to the Jars
For safe canning, add:
- 1 tablespoon bottled lemon juice to each pint jar
- 2 tablespoons bottled lemon juice to each quart jar
You may also add canning salt if desired:
- ½ teaspoon per pint
- 1 teaspoon per quart
Step 7: Fill the Jars
Using a canning funnel, ladle the hot diced tomatoes and their juices into the prepared jars.
Leave ½ inch of headspace.
Remove trapped air bubbles using a bubble remover or plastic spatula.
Wipe the jar rims with a clean, damp cloth, place the lids on top, and screw on the bands until fingertip tight.
Step 8: Process the Jars
Place the filled jars into the water bath canner, ensuring they are covered by at least 1 inch of water.
Bring the water to a full rolling boil and process according to your altitude:
- Pint jars: 40 minutes
- Quart jars: 45 minutes
Adjust processing time if you live at a higher elevation according to current home-canning guidelines.
Step 9: Cool the Jars
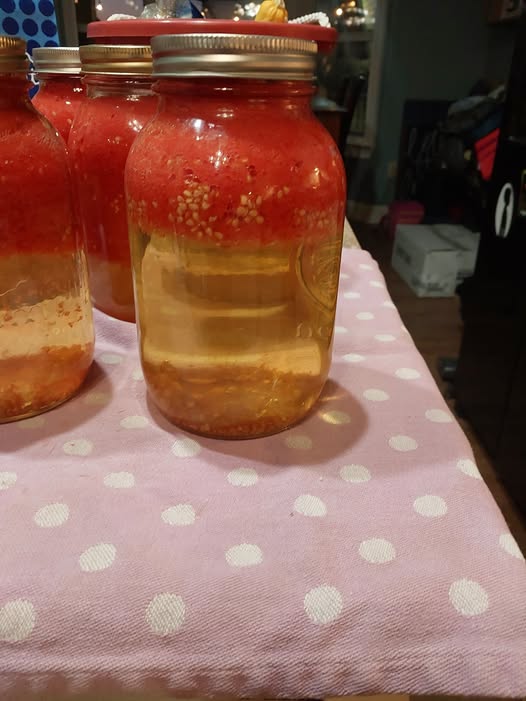
Carefully remove the jars using a jar lifter and place them on a towel-lined counter.
Allow them to cool undisturbed for 12–24 hours.
Do not tighten the bands or tilt the jars while cooling.
Step 10: Check the Seals
After cooling, remove the screw bands and press the center of each lid.
A properly sealed lid should not flex up and down.
Store sealed jars in a cool, dark place.
Refrigerate any unsealed jars and use within one week.
Tips for Success
- Always use bottled lemon juice for consistent acidity.
- Choose firm, ripe tomatoes for the best texture.
- Avoid adding onions, peppers, garlic, or herbs before canning unless using a tested recipe.
- Keep jars hot before filling to reduce the risk of breakage.
- Maintain the recommended headspace for a proper seal.
- Label each jar with the canning date.
Storage
Store sealed jars in a cool, dry, dark pantry between 50°F and 70°F (10°C–21°C).
For the best flavor and quality, use within 12 to 18 months.
Once opened, refrigerate and use within 5 to 7 days.
Ways to Use Canned Diced Tomatoes
These versatile tomatoes are perfect for:
- Pasta sauce
- Homemade chili
- Vegetable soup
- Beef stew
- Chicken cacciatore
- Shakshuka
- Taco filling
- Pizza sauce
- Lasagna
- Casseroles
- Rice dishes
- Curry
- Tomato-based soups
Variations
Fire-Roasted Style
Roast the tomatoes under a broiler until lightly charred before peeling and dicing for a smoky flavor.
Italian-Inspired
When using the canned tomatoes in recipes, season them with basil, oregano, thyme, and garlic for classic Italian dishes.
Chunky Style
Cut the tomatoes into larger pieces if you prefer a heartier texture.
Common Mistakes to Avoid
- Using damaged or spoiled tomatoes.
- Skipping the bottled lemon juice, which is essential for safe acidity in water bath canning.
- Overfilling the jars and leaving too little headspace.
- Forgetting to remove air bubbles before sealing.
- Moving the jars while they are cooling.
- Ignoring altitude adjustments when processing.
Frequently Asked Questions
Can I use cherry tomatoes?
Yes, although they are smaller and may contain more juice. Peel them if desired for a smoother texture.
Do I have to peel the tomatoes?
Peeling is recommended for the best texture and to reduce bitterness from the skins.
Why use bottled lemon juice instead of fresh?
Bottled lemon juice has a standardized acidity level, making it the safer choice for home canning.
Can I add herbs before canning?
It’s best to add herbs and spices when you cook with the tomatoes rather than before canning, unless you’re following a scientifically tested recipe.
Nutritional Information (Per ½ Cup Serving)
Approximate values:
- Calories: 35
- Protein: 2 g
- Carbohydrates: 8 g
- Fat: 0 g
- Fiber: 2 g
- Sugar: 5 g
- Sodium: 10 mg (without added salt)
- Potassium: 350 mg
- Vitamin C: 25% Daily Value
- Vitamin A: 15% Daily Value
- Lycopene: Rich natural source