canning butter
Description:
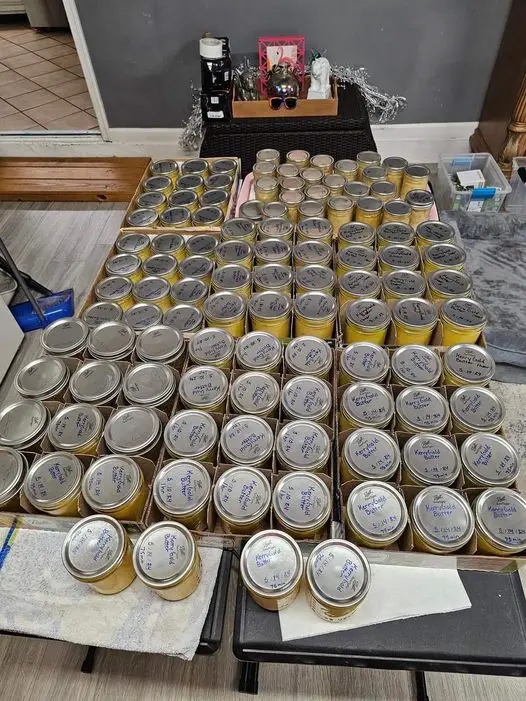
Canning butter allows you to preserve it for long-term storage without refrigeration. This method involves heating the butter to a high temperature and sealing it in sterilized jars. While canning butter is a popular method for many home preservers, it is important to note that it is not considered safe by the USDA due to the potential for botulism. If you decide to proceed, understand the risks and ensure you follow the instructions carefully.
Total Time:
- Preparation Time: 10-15 minutes
- Melting Time: 10-15 minutes
- Canning Time: 15-20 minutes
- Total Time: 35-50 minutes
Ingredients:
- Unsalted butter (any quantity; typically, 1 pound fills about 1 pint jar)
Equipment:
- Canning jars with lids and bands (half-pint or pint size)
- Large pot or stockpot
- Canning pot with rack
- Jar lifter
- Saucepan
- Ladle
- Clean towels
Instructions:
- Sterilize the Jars:
- Wash jars, lids, and bands with warm, soapy water. Rinse well.
- Sterilize the jars by boiling them in a large pot of water for 10 minutes. Keep them warm in the water until ready to use.
- Melt the Butter:
- In a large saucepan, melt the butter over low heat. Allow it to come to a gentle simmer, stirring occasionally to prevent scorching. This process will separate the milk solids from the clarified butter.
- Skim the Foam:
- As the butter melts and simmers, a foam will form on the surface. Skim this foam off with a spoon and discard it.
- Continue to Simmer:
- Continue to simmer the butter until it becomes clear and all the milk solids have settled at the bottom, about 15-20 minutes. Be careful not to brown the solids; you want clarified butter.
- Fill the Jars:
- Carefully ladle the hot, clarified butter into the sterilized jars, leaving about 1/2 inch of headspace. Be sure not to include the milk solids that have settled at the bottom of the pan.
- Wipe the rims of the jars with a clean, damp cloth. Place the lids on top and screw on the bands until fingertip-tight.
- Seal the Jars:
- To ensure a good seal, place the jars in a canning pot filled with enough water to cover the jars by at least 1 inch.
- Bring the water to a gentle boil and process the jars for 10 minutes.
- Cool and Store:
- After processing, remove the jars with a jar lifter and place them on a towel-lined surface to cool completely.
- After 24 hours, check the seals by pressing the center of each lid. If the lid does not pop back, the jar is sealed. Any unsealed jars should be refrigerated and used within 1 month.
Storage:
- Store sealed jars in a cool, dark place for up to 1 year. Once opened, refrigerate and use within 1 month.
Important Notes:
- Safety Warning: Canning butter is not considered safe by the USDA due to the risk of botulism. Use this method at your own risk, and always follow best practices for cleanliness and sterilization.
- Flavor Variations: For flavored butter, you can add herbs or spices before melting, but be aware that this may increase the risk of bacterial growth.
- Alternative Methods: Instead of canning, consider freezing butter for long-term storage. It retains its quality well in the freezer for up to a year.
Serving Suggestions:
Use canned butter as you would regular butter – for spreading on toast, cooking, baking, or flavoring dishes.
Enjoy the convenience of having butter on hand, but always keep safety first!