Carnivore Garlic Cheese Bread Recipe
Prep Time: 10 minutes
Cook Time: 20-25 minutes
Total Time: 30-35 minutes
Intensity: Easy
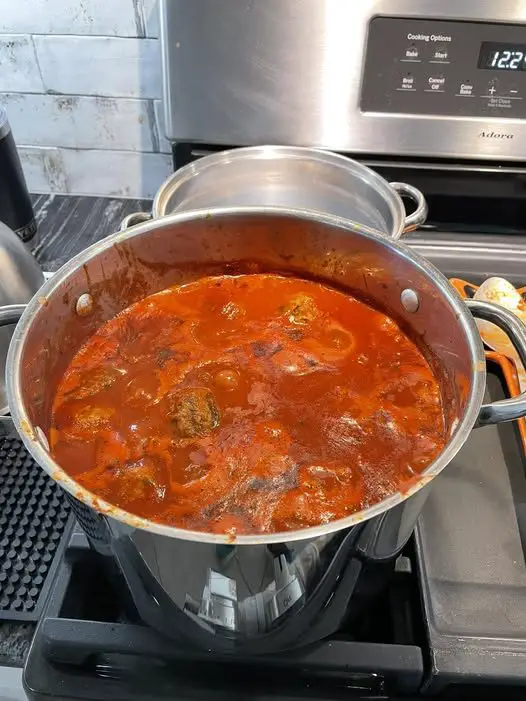
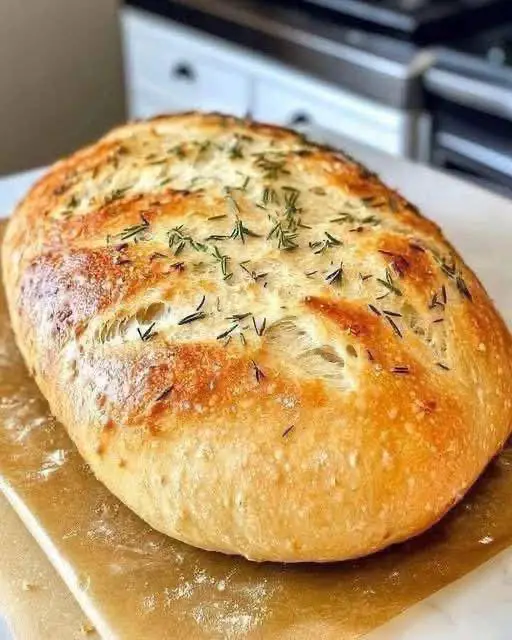
This isn’t your traditional garlic bread. We’re saying goodbye to flour and hello to a rich, savoury, and unbelievably satisfying loaf that’s 100% compliant with a carnivore or animal-based lifestyle. The “bread” is a cheesy, eggy foundation that bakes up sturdy enough to hold a generous, buttery garlic topping. It’s the ultimate side for a hearty bowl of carnivore chilli, a juicy steak, or simply enjoyed on its own as a decadent, savoury snack. Prepare for your kitchen to smell like heaven and for this bread to become a staple in your rotation.
Why You’ll Love This Recipe
-
Zero Compromise on Flavour: Every bite is packed with savoury cheese, rich butter, and pungent garlic. You won’t miss the grains for a second.
-
Incredibly Satisfying: High in protein and healthy fats, this bread is incredibly filling and will keep you energized.
-
Versatile: It’s the perfect vehicle for sopping up sauces, a fantastic base for an open-faced “sandwich,” or a delicious side for eggs at breakfast.
-
Surprisingly Easy: With just a few simple ingredients and one bowl, this recipe comes together in about 30 minutes.
Ingredients
For the “Bread” Base:
-
4 large eggs, at room temperature
-
2 cups (about 8 oz / 225g) shredded mozzarella cheese, preferably full-fat, low-moisture
-
1/2 cup (about 2 oz / 55g) freshly grated Parmesan cheese
-
4 oz (115g) cream cheese, softened
For the Garlic Butter Topping:
-
4 tbsp (60g) salted butter, melted
-
3-4 large cloves of garlic, minced (adjust to your love of garlic)
-
1 tbsp fresh parsley, finely chopped (optional, for colour and a fresh note)
-
Pinch of sea salt (optional, especially if using unsalted butter)
Equipment Needed
-
Mixing bowl
-
Whisk or electric hand mixer
-
Rubber spatula
-
8×4 inch loaf pan
-
Parchment paper
-
Small bowl for the topping
Instructions
Step 1: Prepare Your Oven and Pan
Preheat your oven to 375°F (190°C). Line an 8×4 inch loaf pan with a sheet of parchment paper, leaving some overhang on the long sides. This “sling” will make it incredibly easy to lift the finished bread out of the pan. Lightly grease the parchment paper with a little butter or cooking spray to ensure nothing sticks.
Step 2: Make the “Bread” Batter
In your large mixing bowl, combine the softened cream cheese and the eggs. Using a whisk or an electric hand mixer, beat them together until the mixture is completely smooth and there are no lumps of cream cheese remaining. This step is crucial for the texture of your bread.
Next, add the shredded mozzarella and grated Parmesan cheese to the egg mixture. Stir with a rubber spatula or spoon until everything is thoroughly combined. You’ll have a thick, sticky, and slightly gooey batter. Don’t overmix; just ensure the cheeses are evenly distributed.
Step 3: Bake the Base
Scrape the batter into your prepared loaf pan and spread it out evenly with your spatula. Place the pan in the preheated oven and bake for 20-25 minutes, or until the top is a deep golden brown and the edges are pulling away from the sides of the pan. A toothpick inserted into the centre should come out clean, or with just a few moist crumbs. The loaf will feel firm to the touch.
Step 4: Prepare the Garlic Butter Topping
While the bread is baking, prepare the topping. In your small bowl, combine the melted butter, minced garlic, and chopped fresh parsley (if using). Give it a stir and set it aside. The heat of the butter will gently cook the garlic, mellowing its raw edge and infusing the butter with its flavour.
Step 5: Assemble and Finish
Once the bread base is baked, remove it from the oven. Do not turn the oven off. Carefully lift the bread out of the pan using the parchment paper sling and place it (still on the paper) on a baking sheet or directly on the oven rack for the next step.
Poke the top of the hot loaf all over with a fork or a skewer. This creates little channels for the glorious garlic butter to seep down into the bread.
Now, slowly and evenly pour the garlic butter mixture over the entire top of the hot loaf, making sure to get it all. You’ll see it start to soak in immediately.
Step 6: The Final Sizzle
Place the baking sheet (or the loaf directly on the rack) back into the hot oven for an additional 5-7 minutes. This final blast of heat does two magical things: it allows the butter to fully absorb and cook into the bread, and it slightly crisps up the top, creating a wonderful, slightly crusty exterior.
Step 7: Rest and Serve
Carefully remove the garlic cheese bread from the oven. Let it rest in the pan (or on the baking sheet) for at least 5-10 minutes before slicing. This resting period is essential for the structure to set; if you slice it immediately, it may be too soft. After resting, use a serrated knife to slice it into thick, glorious pieces. Serve warm.
Chef’s Tips for the Best Carnivore Garlic Bread
-
Room Temperature Ingredients: This is key for a smooth batter. Cold eggs and cream cheese can cause the mixture to seize up, resulting in a lumpy texture. Let them sit on the counter for 30 minutes before starting.
-
Don’t Skimp on the Poke: Really poke the bread well before adding the butter. You want that flavour to penetrate deep into the loaf.
-
Cheese Matters: Use full-fat, low-moisture mozzarella. Fresh mozzarella packed in water contains too much moisture and will make your bread soggy. Pre-shredded cheeses often have starches or anti-caking agents added, which can affect the texture, so shredding your own block of cheese is always best.
-
Customize Your Flavours: This recipe is a fantastic base. Try adding cooked, crumbled bacon to the batter, swapping the parsley for chives, or adding a pinch of red pepper flakes (if you’re not strictly carnivore) to the butter for a little heat.
Storage and Reheating
-
Storage: Store any leftover slices in an airtight container in the refrigerator for up to 4 days.
-
Reheating: The best way to revive this bread is in a toaster oven, air fryer (at 350°F for 3-4 minutes), or under the broiler for a minute or two. This will re-crisp the outside. You can microwave it, but it will become softer.
-
Freezing: This bread freezes beautifully. Wrap individual slices or the whole loaf tightly in plastic wrap, then in a layer of foil. Freeze for up to 3 months. Thaw in the refrigerator overnight and reheat as directed above.
Nutritional Information (Per Serving – based on 8 slices)
Please note that this is an estimate and can vary based on the specific brands of ingredients you use.
| Nutrient | Amount |
|---|---|
| Calories | ~290 kcal |
| Fat | ~23g |
| Saturated Fat | ~13g |
| Carbohydrates | ~3g |
| Fiber | ~0g |
| Sugar | ~1g |
| Protein | ~17g |
| Sodium | ~400mg |