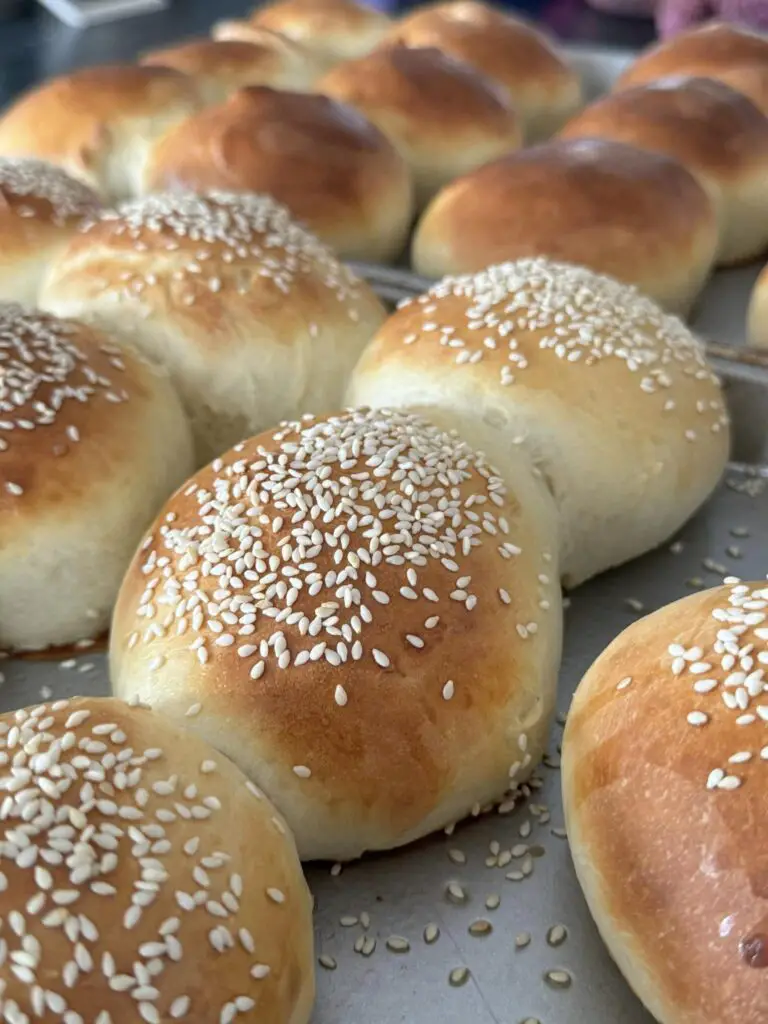
Homemade fried bannock
Prep Time: 10 minutes
Cook Time: 15 minutes
Total Time: 25 minutes
Servings: 6–8 pieces
Difficulty: Easy
Cuisine: Indigenous / Canadian
Introduction
Bannock is a beloved traditional bread that holds deep roots in Indigenous communities across North America. Originally introduced through contact with European settlers, bannock has been adapted and perfected by First Nations peoples, evolving into a warm, satisfying, and versatile dish. This recipe focuses on a fried version of bannock, which results in a golden, crispy exterior with a soft and fluffy interior.
Whether served as a side dish with stew or chili, topped with jam and butter for breakfast, or simply enjoyed on its own, fried bannock is comfort food at its finest. It’s quick to make, requires only a handful of pantry staples, and doesn’t need an oven — just a frying pan and some oil. Let’s dive into this rich cultural comfort food with a modern, home-friendly twist.
Ingredients
Dry Ingredients:
-
2 cups all-purpose flour
-
1 tablespoon baking powder
-
1/2 teaspoon salt
-
1 tablespoon granulated sugar (optional, for slight sweetness)
Wet Ingredients:
-
3/4 to 1 cup warm water or milk (adjust as needed)
-
1 tablespoon vegetable oil or melted butter (optional, for a richer dough)
For Frying:
-
Vegetable oil (such as canola, sunflower, or peanut oil) – enough for shallow frying (about 1–2 cups depending on the pan size)
Equipment You’ll Need
-
Mixing bowl
-
Measuring cups and spoons
-
Wooden spoon or hands for mixing
-
Rolling pin or your hands for shaping (optional)
-
Cast-iron or heavy-bottomed frying pan
-
Paper towels
-
Tongs or spatula
Instructions
Step 1: Prepare the Dough
In a large mixing bowl, combine the flour, baking powder, salt, and sugar (if using). Stir well to ensure even distribution of dry ingredients.
Create a well in the center and slowly pour in 3/4 cup of water or milk, and add the vegetable oil or melted butter if using. Mix with a wooden spoon or your hands until the dough starts to come together.
The texture should be soft but not sticky. If it’s too dry, add a bit more water, 1 tablespoon at a time. If it’s too wet, sprinkle in a bit more flour.
Step 2: Rest the Dough (Optional but Recommended)
Cover the dough with a clean cloth or plastic wrap and let it rest for 5–10 minutes. This helps relax the gluten and makes shaping easier.
Step 3: Shape the Dough
Divide the dough into 6–8 equal portions. Roll or pat each portion into a flat disc about 1/2 inch thick and 4–5 inches in diameter. You don’t need perfect circles — rustic shapes are part of the charm!
Tip: Thinner pieces will be crispier, while thicker ones will be softer and fluffier on the inside.
Step 4: Heat the Oil
In a large frying pan, pour in about 1 inch of oil and heat it over medium heat until hot (about 350°F or 175°C). You can test the oil by dropping in a small piece of dough — it should sizzle immediately and rise to the surface.
Step 5: Fry the Bannock
Carefully place 2–3 discs of dough into the hot oil, depending on the size of your pan. Don’t overcrowd the pan.
Fry each piece for 2–3 minutes per side, or until golden brown and puffed. Use tongs or a spatula to flip them. Once cooked, transfer to a plate lined with paper towels to drain excess oil.
Repeat until all pieces are fried.
Step 6: Serve and Enjoy!
Serve bannock warm, as it’s best right out of the pan. You can eat it plain, drizzle with honey or jam, or serve it as a base for savory toppings like chili, cheese, or smoked salmon.
Serving Suggestions
Fried bannock is incredibly versatile. Here are a few delicious ways to enjoy it:
-
Sweet: Serve with maple syrup, honey, jam, or powdered sugar.
-
Savory: Top with butter and cheese, or dip into stews, soups, or chili.
-
Breakfast: Use it like toast with eggs and bacon.
-
Snack: Enjoy on its own with a cup of tea or coffee.
-
Modern Twist: Turn it into a taco-style dish with toppings like ground beef, lettuce, tomatoes, and sour cream (often called “Indian Tacos”).
Storage & Reheating
If you have leftovers (which is rare!), store cooled bannock in an airtight container at room temperature for up to 2 days, or in the fridge for up to 5 days.
To reheat:
-
Pan method: Reheat in a dry skillet over medium heat for 1–2 minutes per side.
-
Microwave: 10–15 seconds per piece.
-
Oven: Wrap in foil and warm at 300°F (150°C) for 10 minutes.
Nutrition Information (Per Piece – Approximate)
Values based on 8 servings, using oil for frying and all ingredients as listed.
| Nutrient | Amount |
|---|---|
| Calories | 230 kcal |
| Carbohydrates | 28 g |
| Protein | 4 g |
| Fat | 11 g |
| Saturated Fat | 1.5 g |
| Cholesterol | 0 mg |
| Sodium | 310 mg |
| Fiber | 1 g |
| Sugar | 1 g |
Note: Values may vary based on exact portion sizes, frying oil absorption, and added toppings.