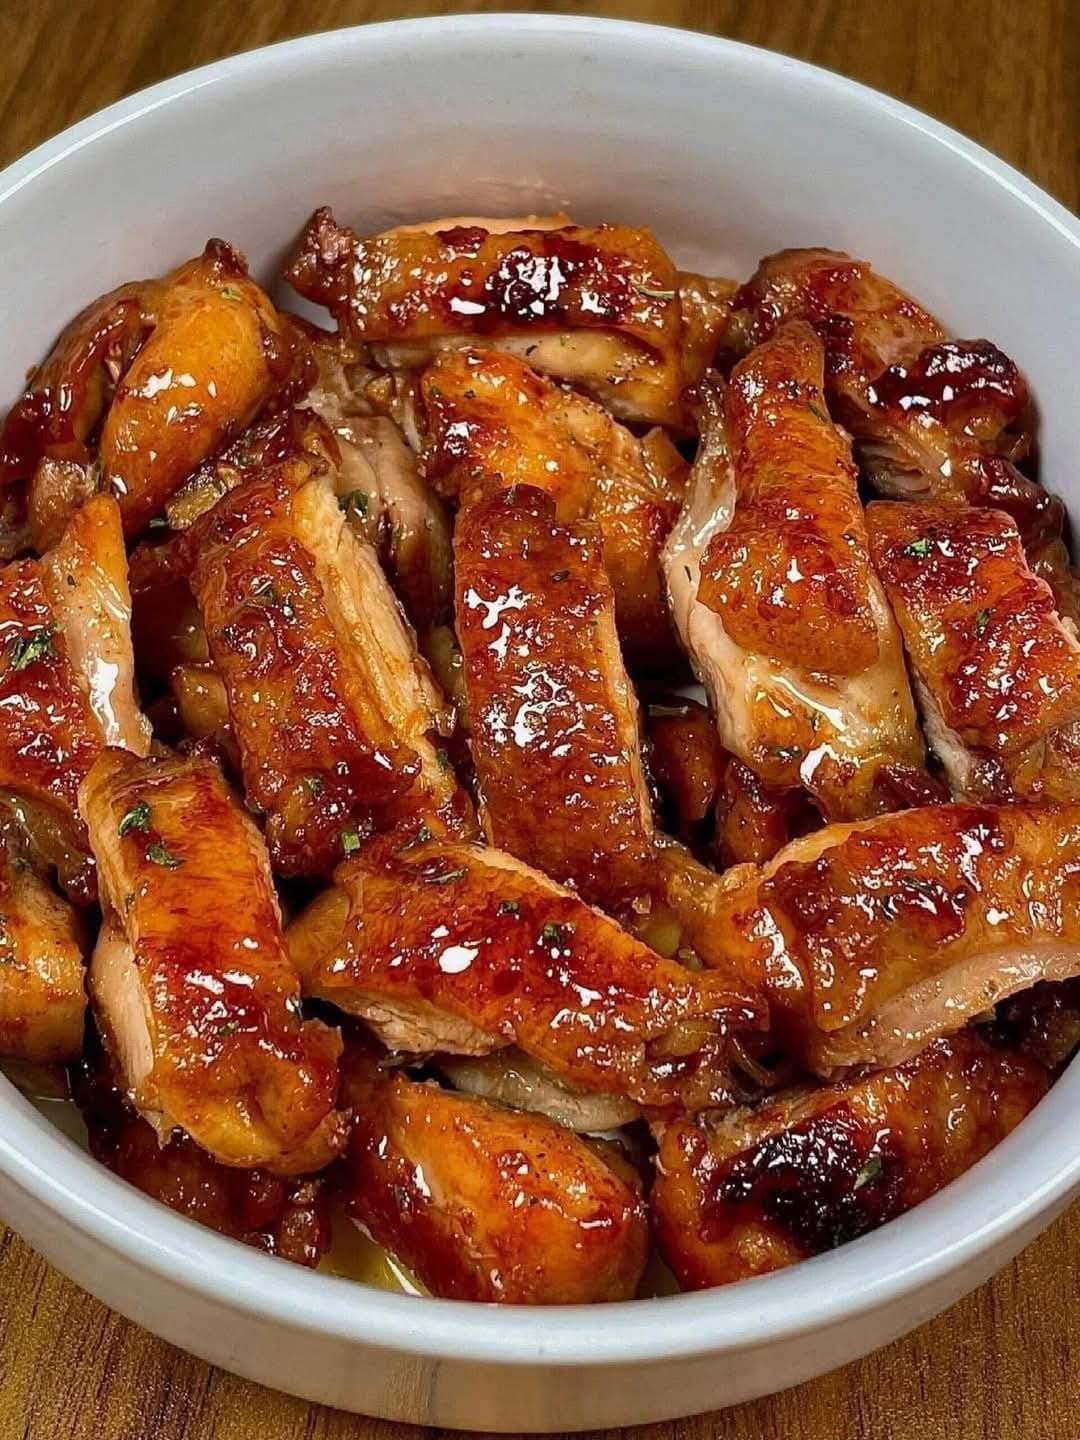
Sticky Teriyaki Chicken Thighs
Prep Time: 10 minutes
Cook Time: 25 minutes
Total Time: 35 minutes
Servings: 4
Difficulty Level: Easy
Introduction
Craving something savory, sticky, and irresistibly flavorful? These Sticky Teriyaki Chicken Thighs are here to satisfy. This recipe brings together the bold umami richness of soy sauce, the sweetness of honey or brown sugar, the tang of rice vinegar, and the aromatic zing of garlic and ginger — all perfectly coating juicy, tender chicken thighs.
Unlike takeout versions, this homemade teriyaki chicken recipe gives you control over every ingredient — no additives or mystery oils, just clean, vibrant flavors. Whether served with rice, stir-fried veggies, or tucked into lettuce wraps, this dish is versatile, quick, and guaranteed to impress.
Ingredients
For the Chicken:
-
1.5 lbs (about 6–8) boneless, skinless chicken thighs
-
Salt and pepper, to taste
-
1 tablespoon vegetable oil (or sesame oil for deeper flavor)
For the Teriyaki Sauce:
-
1/4 cup soy sauce (low sodium recommended)
-
2 tablespoons honey or brown sugar
-
2 tablespoons rice vinegar
-
1 tablespoon mirin (optional, for sweetness and depth)
-
2 cloves garlic, minced
-
1 teaspoon fresh ginger, grated
-
1 teaspoon cornstarch + 1 tablespoon water (for slurry)
-
1/4 cup water
Optional Garnishes:
-
Sesame seeds
-
Chopped green onions
-
Sliced red chili (for heat)
Kitchen Tools You’ll Need
-
Sharp knife and cutting board
-
Large nonstick skillet or wok
-
Whisk or fork
-
Measuring cups and spoons
-
Mixing bowl (for the sauce)
Preparation Instructions
Step 1: Prep the Chicken
Start by patting the chicken thighs dry with paper towels. This helps achieve a nice sear. Lightly season both sides with salt and pepper.
Cut the chicken into large bite-sized pieces if you prefer quicker cooking and easier serving. If you want whole pieces (great for plating), keep them intact.
Step 2: Make the Teriyaki Sauce
In a small bowl or measuring cup, whisk together:
-
Soy sauce
-
Honey or brown sugar
-
Rice vinegar
-
Mirin (if using)
-
Minced garlic
-
Grated ginger
-
Water
Set the sauce aside. In a separate cup, mix 1 tsp cornstarch with 1 tbsp water to form a slurry — this will help thicken the sauce later.
Step 3: Sear the Chicken
Heat 1 tablespoon of oil in a large skillet over medium-high heat.
Add the chicken thighs in a single layer (work in batches if necessary). Cook for 5–6 minutes on each side until golden brown and cooked through (internal temp should be 165°F / 74°C).
Remove the chicken from the skillet and set aside on a plate.
Step 4: Simmer and Thicken the Sauce
Reduce heat to medium-low. Pour the teriyaki sauce mixture into the skillet and bring to a simmer. Let it bubble for 2–3 minutes to reduce slightly.
Whisk in the cornstarch slurry and continue stirring as the sauce thickens — this should take about 1–2 minutes. You’re aiming for a glossy, sticky consistency that coats the back of a spoon.
Step 5: Glaze the Chicken
Return the cooked chicken thighs to the pan. Toss to coat them evenly in the sticky teriyaki sauce.
Simmer together for another 2–3 minutes, spooning the sauce over the chicken as it cooks. The sauce should now be thick, glossy, and clinging beautifully to the meat.
Step 6: Serve and Garnish
Plate the sticky teriyaki chicken thighs hot, garnished with:
-
Toasted sesame seeds
-
Sliced green onions
-
Optional chili slices for heat and color
Serving Suggestions
This dish shines when served with:
-
Steamed white rice or jasmine rice
-
Fried rice or cauliflower rice for a lower-carb option
-
Stir-fried vegetables like broccoli, snow peas, or bok choy
-
Noodles tossed in sesame oil and scallions
-
In lettuce wraps with shredded carrots and cucumber for a fresh twist
It also makes a great meal prep option — the chicken and sauce hold up well in the fridge and reheat beautifully.
Make-Ahead & Storage Tips
-
Make Ahead: The teriyaki sauce can be made up to 3 days ahead and stored in the fridge.
-
Storage: Keep leftovers in an airtight container for up to 4 days.
-
Freezing: Freeze cooked chicken (without garnishes) for up to 2 months. Thaw overnight in the fridge before reheating.
-
Reheating: Gently reheat on the stove or microwave with a splash of water to loosen the sauce.
Nutrition Information (Per Serving – Approx.)
| Nutrient | Amount |
|---|---|
| Calories | ~350 kcal |
| Protein | ~28 grams |
| Carbohydrates | ~15 grams |
| Sugar | ~10 grams |
| Fat | ~20 grams |
| Saturated Fat | ~5 grams |
| Sodium | ~800 mg |
Note: Nutritional content varies based on ingredients and serving sizes.