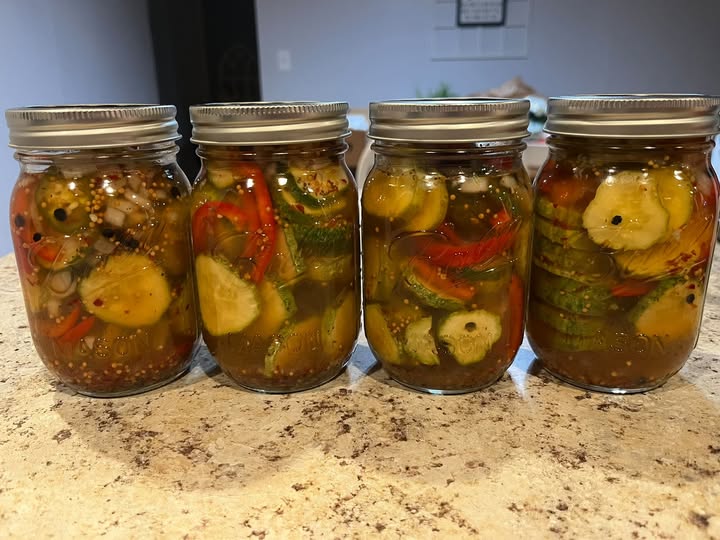
Bread and Butter Pickles
- Prep Time: 30 minutes
- Salting Time: 2 hours
- Cook Time: 15 minutes
- Water Bath Processing: 10 minutes (optional for shelf storage)
- Total Time: Approximately 2 hours 55 minutes
- Difficulty: Easy
- Yield: About 6 pint jars
Ingredients
- 4 pounds pickling cucumbers, thinly sliced
- 2 large sweet onions, thinly sliced
- ¼ cup kosher pickling salt
- 4 cups crushed ice
- 2 cups white vinegar (5% acidity)
- 2 cups apple cider vinegar (5% acidity)
- 2 cups granulated sugar
- ½ cup light brown sugar
- 1 tablespoon mustard seeds
- 2 teaspoons celery seeds
- 1 teaspoon ground turmeric
- 1 teaspoon whole black peppercorns
- ½ teaspoon red pepper flakes (optional)
Equipment Needed
- Large mixing bowl
- Colander
- Large stockpot
- Wooden spoon
- Measuring cups and spoons
- Sharp knife or mandoline slicer
- Water bath canner (optional)
- 6 sterilized pint jars
- New canning lids and bands
- Jar lifter
- Canning funnel
- Clean kitchen towels
Instructions
Step 1: Slice the Vegetables
Wash the cucumbers thoroughly and trim off the blossom ends. Slice the cucumbers into ¼-inch rounds. Peel and thinly slice the onions.
Place the cucumbers and onions into a large bowl.
Step 2: Salt and Chill
Sprinkle the kosher pickling salt over the vegetables and toss well to coat evenly. Cover the vegetables with crushed ice and let them stand for 2 hours.
This important step helps draw out excess moisture and keeps the pickles crisp.
After resting, drain thoroughly and rinse well under cold water to remove excess salt. Drain again.
Step 3: Prepare the Pickling Brine
In a large stockpot, combine the white vinegar, apple cider vinegar, granulated sugar, brown sugar, mustard seeds, celery seeds, turmeric, peppercorns, and red pepper flakes if using.
Stir over medium heat (approximately 325–350°F / 160–175°C stovetop equivalent) until the sugars dissolve completely.
Bring the brine to a gentle boil.
Step 4: Cook the Vegetables
Add the drained cucumbers and onions to the simmering brine.
Cook over medium heat for 8–10 minutes, stirring occasionally, until the cucumbers become slightly translucent but remain crisp. Avoid overcooking, as this can soften the pickles.
Step 5: Fill the Jars
Using a slotted spoon, divide the cucumbers and onions evenly among the hot sterilized jars.
Ladle the hot brine into each jar, leaving ½ inch of headspace. Remove any air bubbles with a clean utensil, wipe the jar rims, apply the lids, and tighten the bands until fingertip tight.
Step 6: Water Bath Process (Optional)
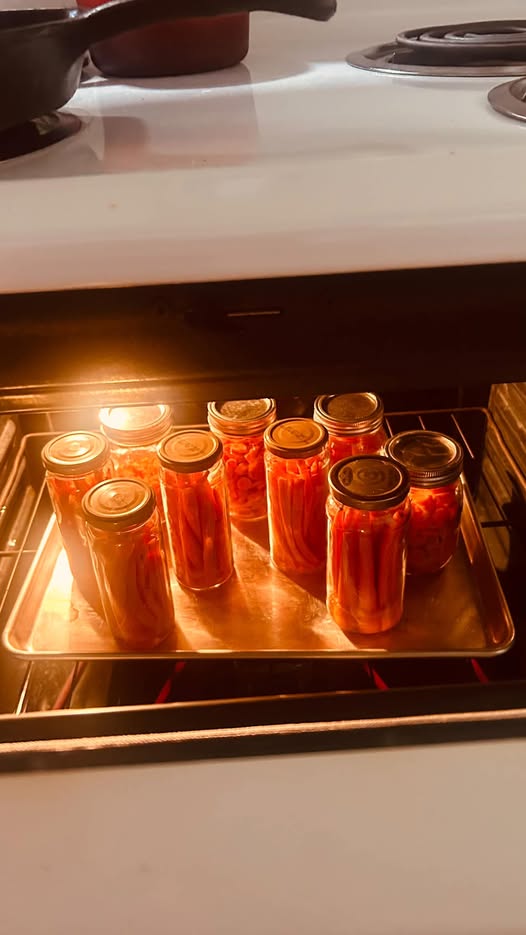
For pantry storage, place the filled jars into a boiling water bath canner, ensuring they are covered with at least 1 inch of water.
Process for 10 minutes (adjust the processing time for your altitude if necessary).
Remove the jars carefully and let them cool undisturbed for 12–24 hours. Check that each lid has sealed properly before storing.
If you are making refrigerator pickles, allow the jars to cool completely before refrigerating.
Time and Heat Intensity
| Step | Time | Heat Intensity |
|---|---|---|
| Slice vegetables | 20 minutes | None |
| Salt and chill | 2 hours | None |
| Prepare brine | 10 minutes | Medium |
| Simmer vegetables | 8–10 minutes | Medium |
| Fill jars | 10 minutes | Hot |
| Water bath process | 10 minutes | Boiling |
| Cool jars | 12–24 hours | Room temperature |
Tips for Perfect Bread and Butter Pickles
- Use fresh, firm pickling cucumbers for the crispiest texture.
- Remove the blossom end of each cucumber, as it contains enzymes that can soften pickles.
- Use pickling or kosher salt instead of table salt.
- Do not reduce the vinegar in the recipe, as the correct acidity is important for safe preservation.
- Allow the pickles to rest for at least 48 hours before opening for the best flavor.
Flavor Variations
Garlic Bread and Butter Pickles
Add 1–2 peeled garlic cloves to each jar.
Spicy Pickles
Increase the red pepper flakes or add sliced jalapeños.
Dill Twist
Add a few fresh dill sprigs to each jar for a unique flavor combination.
Sweet and Smoky
Stir in ½ teaspoon smoked paprika to the brine.
Extra Crunch
Add a grape leaf or a small amount of food-grade calcium chloride (such as Pickle Crisp®) to each jar to help maintain firmness.
Serving Suggestions
These pickles pair wonderfully with:
- Cheeseburgers
- Pulled pork sandwiches
- Fried chicken sandwiches
- Hot dogs
- Grilled cheese
- Tuna salad
- Potato salad
- Charcuterie boards
- Deviled eggs
- BBQ platters
- Ham sandwiches
- Wraps and deli sandwiches
Storage Instructions
Refrigerator Pickles
Store in the refrigerator for up to 2 months. The flavor continues to improve after several days.
Shelf-Stable Canned Pickles
Properly sealed jars may be stored in a cool, dark pantry for up to 12 months. Once opened, refrigerate and consume within 2 months.
Common Mistakes to Avoid
- Using overripe or waxed cucumbers.
- Skipping the salting step, which helps maintain crispness.
- Overcooking the cucumber slices.
- Using vinegar with less than 5% acidity.
- Overfilling jars without leaving proper headspace.
- Forgetting to wipe jar rims before sealing.
Frequently Asked Questions
Why are they called Bread and Butter Pickles?
The name is believed to have originated because these sweet pickles were commonly served with simple bread-and-butter sandwiches during the early 20th century.
Can I reduce the sugar?
Sugar contributes to the classic flavor and texture. While you may reduce it slightly, significant reductions will alter the taste and should only be made if using a tested recipe.
How long should I wait before eating them?
For the best flavor, wait at least 48 hours, though one week is even better.
Can I use regular slicing cucumbers?
Yes, but pickling cucumbers generally produce a firmer, crispier finished product.
Nutrition Information (Approximate Per Serving – ¼ Cup)
- Calories: 70
- Protein: 0 g
- Carbohydrates: 17 g
- Fat: 0 g
- Saturated Fat: 0 g
- Cholesterol: 0 mg
- Sodium: 220 mg
- Potassium: 80 mg
- Fiber: 1 g
- Sugar: 15 g
- Vitamin C: 4% Daily Value
- Calcium: 2% Daily Value
- Iron: 2% Daily Value