Dry Canned Potatoes
- Prep Time: 30 minutes
- Peeling & Cutting: 20 minutes
- Pre-Boiling: 10 minutes
- Pressure Canning Time:
- Pint jars: 35 minutes
- Quart jars: 40 minutes
- Cooling Time: 12–24 hours
Total Time: Approximately 2 hours (plus cooling)
Equipment
- Pressure canner
- Pint or quart Mason jars
- New canning lids
- Screw bands
- Jar lifter
- Bubble remover
- Funnel
- Large stockpot
- Sharp knife
- Cutting board
- Clean towels
Ingredients
- 10 pounds fresh potatoes
- Water
- 2–3 tablespoons bottled lemon juice (optional for preventing browning during preparation)
- Canning salt (optional)
- ½ teaspoon per pint
- 1 teaspoon per quart
Choosing Potatoes
Select firm, fresh potatoes without:
- Green spots
- Sprouts
- Bruises
- Soft areas
- Mold
- Cuts
Waxy potatoes generally hold their shape better after canning, while starchy potatoes may become softer.
Instructions
Step 1: Prepare the Potatoes
Wash potatoes thoroughly under cool running water.
Peel the potatoes to remove the skins. Although peeling takes extra time, it improves safety and texture.
Cut into:
- 1-inch cubes
- Small whole potatoes (under 2 inches)
- Thick slices
Keep prepared potatoes submerged in cold water to prevent discoloration.
Step 2: Pre-Boil
Bring a large pot of water to a rolling boil.
Drain the soaking water from the potatoes.
Boil the potato pieces for 2 minutes.
This helps remove excess starch and improves the final quality.
Step 3: Prepare the Jars
Wash jars in hot soapy water.
Keep jars hot until ready to fill.
Prepare lids according to the manufacturer’s directions.
Step 4: Fill the Jars
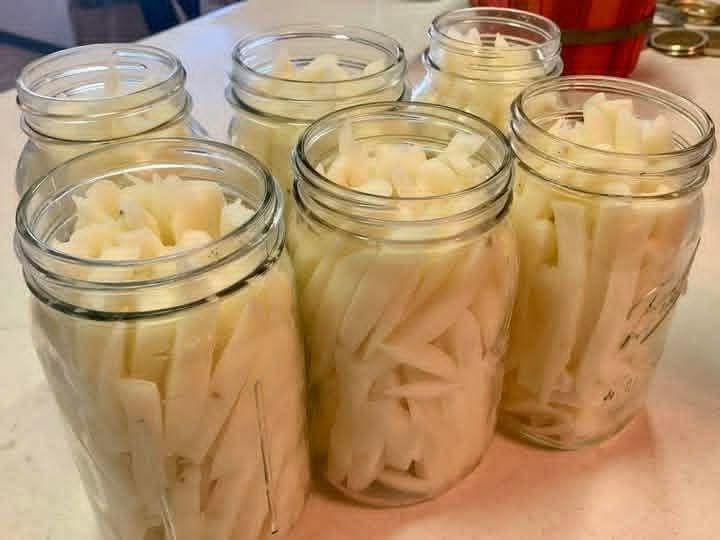
Using a canning funnel, pack hot potatoes into the jars.
Leave 1 inch headspace.
Add:
- ½ teaspoon canning salt per pint (optional)
- 1 teaspoon canning salt per quart (optional)
Pour fresh boiling water over the potatoes.
Maintain the 1-inch headspace.
Remove air bubbles using a bubble remover.
Adjust headspace if necessary.
Wipe jar rims clean.
Apply lids and bands until fingertip tight.
Step 5: Load the Pressure Canner
Add the amount of water recommended by your pressure canner manufacturer.
Place jars onto the canning rack.
Lock the lid.
Vent steam for 10 minutes.
Apply the pressure regulator.
Step 6: Pressure Can
Process at the pressure appropriate for your canner and altitude, following the manufacturer’s instructions and current tested canning guidelines.
Typical processing times are:
- Pint jars: 35 minutes
- Quart jars: 40 minutes
Maintain steady pressure throughout the processing time.
Step 7: Cool the Canner
Once processing is complete:
Turn off the heat.
Allow pressure to return naturally to zero.
Do not force cool the canner.
Wait an additional 10 minutes before opening the lid.
Remove jars using a jar lifter.
Place them on a towel.
Allow jars to cool undisturbed for 12–24 hours.
Step 8: Check the Seals
After cooling:
Remove the screw bands.
Press the center of each lid.
A properly sealed lid will not flex up and down.
Any unsealed jars should be refrigerated and used within several days.
Storage
Store sealed jars in:
- A cool place
- A dry pantry
- Away from direct sunlight
Ideal storage temperature:
50–70°F (10–21°C)
For best quality, use within 12 months.
Serving Ideas
Pressure-canned potatoes are incredibly versatile.
Use them in:
- Potato soup
- Beef stew
- Chicken stew
- Breakfast hash
- Potato salad
- Shepherd’s pie
- Mashed potatoes
- Roasted potatoes
- Skillet potatoes
- Chowders
- Casseroles
- Vegetable soup
Tips for Success
- Use only fresh potatoes.
- Peel all potatoes before canning.
- Always use a pressure canner for potatoes.
- Do not use the “dry canning” method, which is not considered safe for home food preservation.
- Maintain the recommended headspace.
- Use clean jars and new lids.
- Allow pressure to return to zero naturally.
- Label jars with the canning date.
Recipe Variations
Garlic Potatoes
Add a peeled garlic clove to each jar before filling.
Herb Potatoes
Season after opening with rosemary, thyme, or parsley for fresh flavor.
Buttered Potatoes
Add butter only after opening the jar and reheating, not before canning.
Soup Starter
Combine canned potatoes later with carrots, celery, onions, and broth for a quick soup.
Frequently Asked Questions
Can I dry can potatoes in the oven?
No. Oven “dry canning” potatoes is not a tested or recommended preservation method and is not considered safe for long-term storage. Use pressure canning instead.
Do I have to peel potatoes?
Yes. Peeling improves safety and produces a better-quality canned product.
Can I use red potatoes?
Yes. Red potatoes hold their shape well after pressure canning.
Why are my potatoes cloudy?
Cloudiness is usually caused by excess starch and is generally not a safety issue if the potatoes were pressure canned correctly.
How long do canned potatoes last?
For best flavor and quality, consume within one year, though properly sealed jars may remain safe longer if stored correctly and show no signs of spoilage.
Final Thoughts
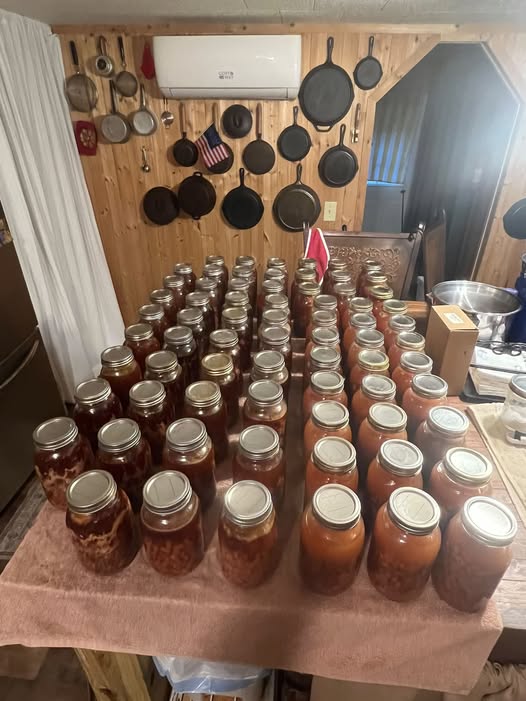
Pressure-canned potatoes are a practical addition to any well-stocked pantry, providing a convenient ingredient for countless meals. While “dry canning” potatoes has become a popular term online, it is important to rely on scientifically tested preservation methods to ensure food safety. By using a pressure canner, following proper preparation steps, and processing jars for the recommended time, you can enjoy tender, ready-to-use potatoes whenever you need them.
Whether you’re preserving a garden harvest or stocking up during seasonal sales, this safe canning method offers reliable, long-lasting results and the peace of mind that comes from using proven home food preservation practices.
Nutrition Information (Approximate, per 1 cup drained)
- Calories: 135
- Protein: 3 g
- Carbohydrates: 31 g
- Fat: 0 g
- Fiber: 3 g
- Sugars: 2 g
- Sodium: 10 mg (without added salt)
- Potassium: 620 mg
- Vitamin C: 18 mg
- Calcium: 18 mg
- Iron: 1 mg