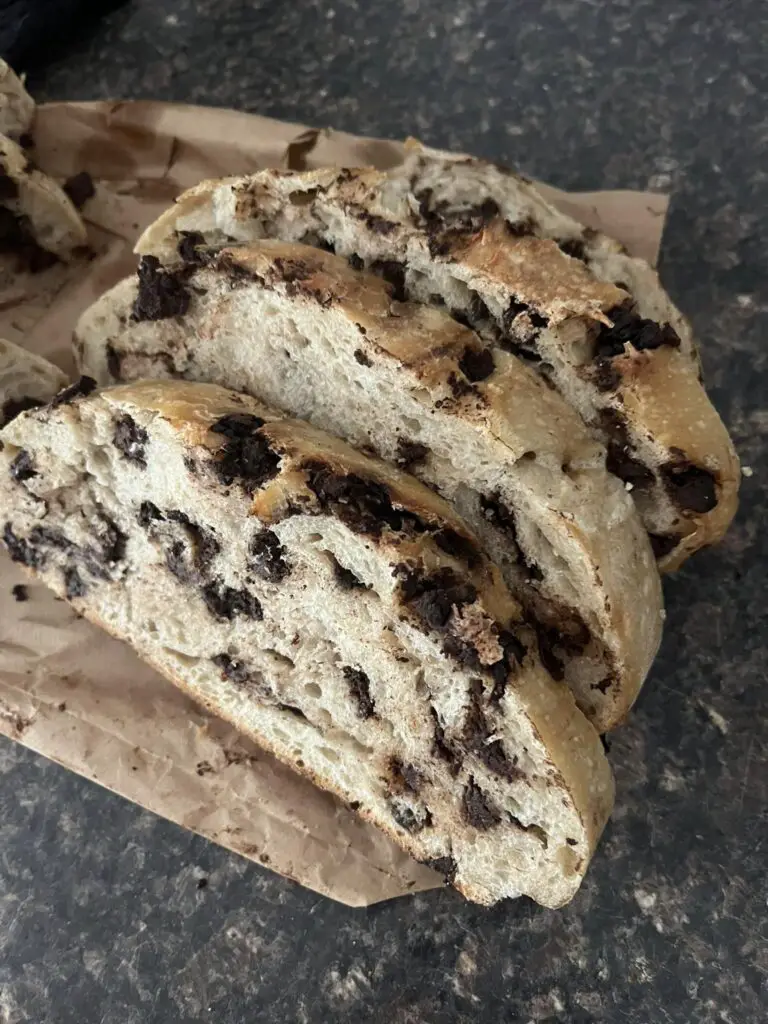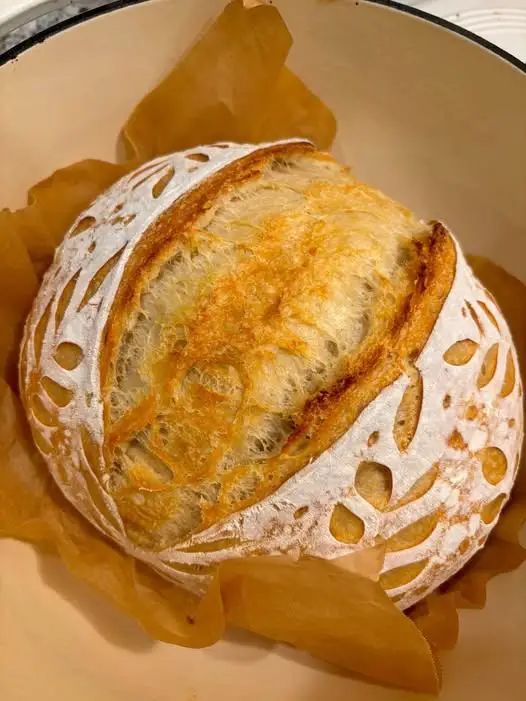
Sourdough Bread
Making sourdough bread from scratch is a rewarding process that results in a delicious, tangy loaf with a chewy texture and crispy crust. Unlike most breads, sourdough is made with a naturally occurring wild yeast starter, which helps it rise and gives it its characteristic flavor. Here’s a step-by-step guide to making sourdough bread at home.
Ingredients:
For the Sourdough Starter (if you don’t have one yet):
-
1 cup whole wheat flour (for starting the culture)
-
1 cup water (preferably filtered, room temperature)
For the Sourdough Bread:
-
1/2 cup sourdough starter (fed and bubbly)
-
1 1/2 cups water (room temperature)
-
4 cups all-purpose flour (or bread flour)
-
1 1/2 teaspoons salt
-
1 tablespoon honey or sugar (optional, helps feed the yeast)
-
1/4 cup of whole wheat flour (optional, for extra flavor and texture)
Instructions:
Step 1: Make the Sourdough Starter (Skip if you already have a starter)
-
Day 1: Mix – In a large bowl, combine 1 cup of whole wheat flour and 1 cup of water. Stir until it forms a thick paste, then cover loosely with a cloth or plastic wrap. Leave it in a warm place (ideally around 70°F or 21°C) for 24 hours.
-
Day 2: Feed the Starter – Discard half of the mixture and add 1/2 cup of all-purpose flour and 1/2 cup of water. Stir and cover again. Let it sit for 24 more hours.
-
Day 3-7: Continue Feeding – Each day, discard half of the starter and feed it with 1/2 cup of flour and 1/2 cup of water. By Day 5-7, you should start to notice bubbles forming, and the mixture should have a pleasant, slightly sour smell. This indicates that the wild yeast is active.
Once the starter is bubbly, tangy, and doubling in size within 4-6 hours after feeding, it’s ready to use!
Step 2: Mix the Dough
-
Combine Ingredients:
-
In a large bowl, combine 1/2 cup of your active sourdough starter with 1 1/2 cups of water. Stir to mix.
-
Add 4 cups of all-purpose flour (you can mix in 1/4 cup of whole wheat flour for added flavor) and 1 1/2 teaspoons of salt.
-
If you want a slightly sweeter loaf, add a tablespoon of honey or sugar.
-
-
Mix and Knead:
-
Stir the dough with a wooden spoon or your hands until it comes together. The dough will be sticky, which is normal.
-
Once combined, knead the dough for about 8-10 minutes on a lightly floured surface, until it becomes smooth and elastic. You can also use the stretch and fold method if you prefer not to knead.
-
-
First Rise (Bulk Fermentation):
-
Place the dough in a lightly oiled bowl, cover it with a damp towel or plastic wrap, and let it rise at room temperature for 4-6 hours. The dough should double in size. If you prefer a slower rise and more complex flavor, you can refrigerate it overnight for a longer fermentation.
-
Step 3: Shape the Dough
-
Shape the Dough:
-
After the dough has risen, gently deflate it and turn it onto a floured surface.
-
Shape the dough into a round or oval loaf, depending on your preference. To shape, fold the edges of the dough inward and turn it, forming a tight, smooth ball or oval shape.
-
-
Second Rise (Proofing):
-
Place the shaped dough into a proofing basket or bowl lined with a floured cloth. Cover it loosely and let it rise for 2-3 hours at room temperature until it has doubled in size again. Alternatively, you can refrigerate it overnight for a slower proof.
-
Step 4: Bake the Bread
-
Preheat the Oven:
-
Preheat your oven to 450°F (232°C). Place a Dutch oven or baking stone inside to heat up. This will help create the steam needed for a crusty loaf.
-
-
Score the Dough:
-
Once the dough is ready for baking, use a sharp knife or a bread lame to score the top of the dough. This allows the bread to expand as it bakes, creating an attractive pattern.
-
-
Bake the Bread:
-
Carefully transfer the dough to the preheated Dutch oven or baking stone. If using a Dutch oven, cover it with the lid.
-
Bake for 20 minutes, then remove the lid and continue baking for another 25-30 minutes, until the bread is golden brown and sounds hollow when tapped on the bottom.
-
-
Cool:
-
Let the bread cool on a wire rack for at least 1 hour before slicing. This allows the structure of the bread to set and makes slicing easier.
-
Tips for Success:
-
Starter Strength: Your starter needs to be active and bubbly for the bread to rise properly. If your starter is sluggish, give it a few more feedings.
-
Humidity and Temperature: Sourdough thrives in warm, humid conditions. If your kitchen is cold, consider using a proofing box or placing your dough in the oven with the light on to maintain warmth.
-
Steam: Steam is key to getting a crispy, golden crust. If you’re not using a Dutch oven, you can add steam to the oven by placing a small pan of water on the bottom rack as the bread bakes.
-
Patience: Sourdough bread is all about slow fermentation. Don’t rush the process. The longer the dough ferments, the better the flavor and texture.
Enjoy your freshly baked, tangy, and chewy sourdough bread! It’s perfect for sandwiches, toasted with butter, or just as is with a sprinkle of salt. Let me know how it turns out or if you have any questions!